Breadboard Basics: How to Build Circuits Without Soldering
Introduction
If you’re new to electronics, the thought of soldering wires and components permanently might sound intimidating. Luckily, there’s a beginner‑friendly tool that lets you build, test, and re‑arrange circuits without any permanent mess: the breadboard.
Breadboards are like Lego blocks for electronics. You can plug in components, move them around, troubleshoot easily, and once everything works—then you can think about making it permanent.
In this guide, you’ll learn:
What a breadboard is
How it works inside
How to use it for your first circuits
Common mistakes to avoid
What is a Breadboard?
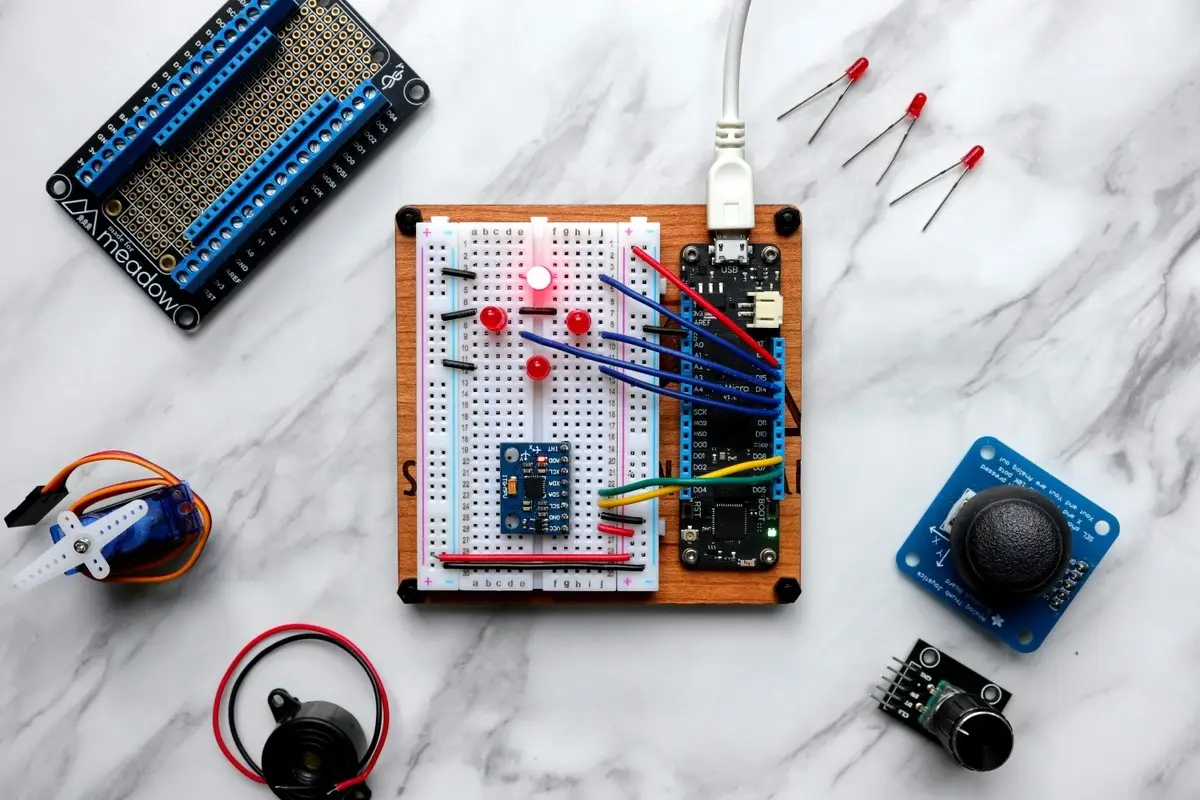
A breadboard is a rectangular plastic board with lots of little holes (sockets). These holes are connected by hidden strips of metal underneath, allowing you to create temporary electrical connections between components—no soldering required.
👉 Think of it as a reusable “testing ground” for your electronic experiments.
Fun fact: The original “breadboards” were literally wooden boards (for bread!) that hobbyists used to nail down circuits back in the 1940s. The name stuck—even though we’ve moved on from kitchen supplies.
Why Use Breadboards?
Breadboards are essential because they:
Let you prototype quickly without soldering.
Make it easy to change and fix mistakes.
Are reusable (components pop in and out).
Perfect for learning electronics before making circuits permanent.
Basically, breadboards are training wheels for electronics. Safe, forgiving, and reusable.
Common Mistakes Beginners Make
Not connecting the power rails: In many breadboards, left and right rails aren’t connected—bridge them with a jumper!
Placing both component legs into the same row: This shorts them together instead of connecting properly.
Loose connections: Double‑check wires and components are pushed in firmly.
Overcrowding: Spread out your components to avoid confusion.
Example: Blinking an LED on a Breadboard
Here’s a simple beginner project:
Insert a resistor into one row.
Connect one end of an LED to the same row as the resistor.
Connect the other LED leg to ground.
Use a jumper wire to connect the resistor to the positive power rail.