DIY Smart Car with Arduino/ESP (Step‑By‑Step Guide for Beginners)
Introduction
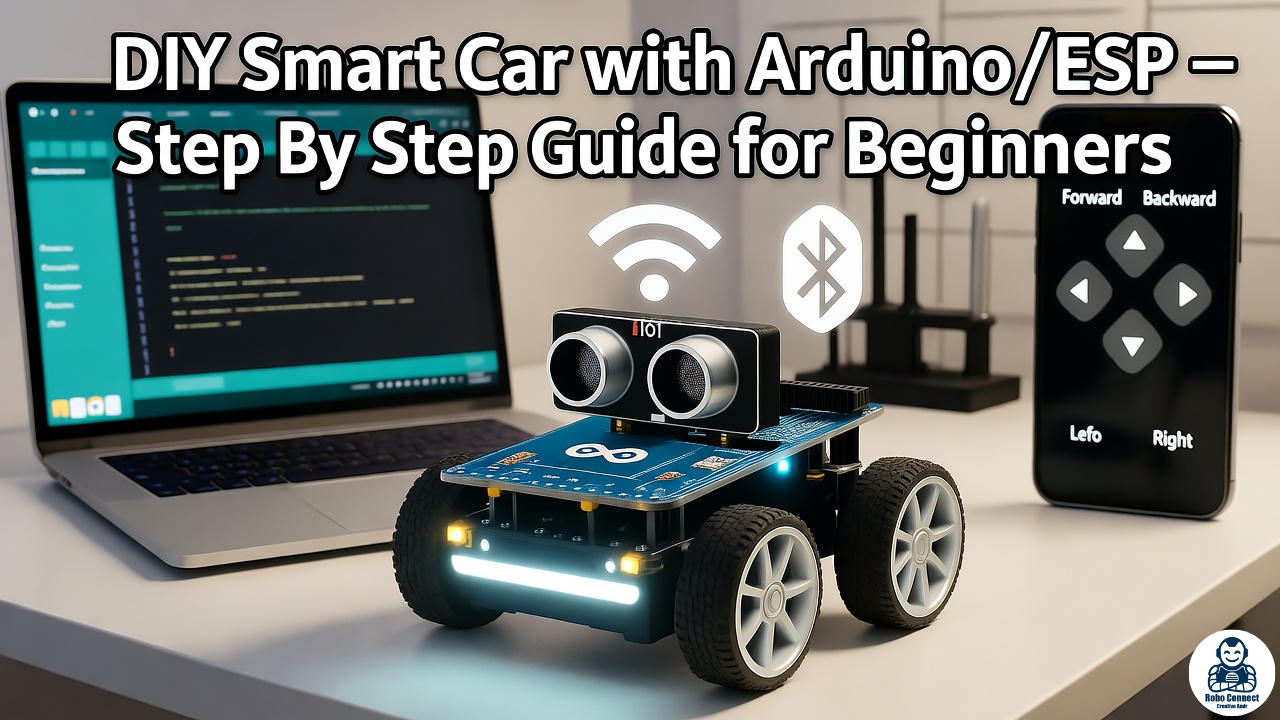
A DIY Smart Car is one of the most fun and educational robotics projects you can build as a beginner. It’s basically a robot car that can be:
- Remote controlled (via Bluetooth or Wi‑Fi 📱),
- Autonomous (line following, obstacle avoidance 🤖),
- Or even IoT‑enabled (send data to the cloud ☁️).
In this guide, we’ll show you how to build a Smart Car with Arduino Uno and how to upgrade it using an ESP32/ESP8266 for wireless IoT features.

What You’ll Need (Components List)
- Arduino Uno (or ESP32/ESP8266 NodeMCU)
- L298N Motor Driver Module (to control DC motors)
- 2 or 4 DC Motors + Wheels
- Robot Chassis + battery holder
- IR Line Sensors (for line following)
- Ultrasonic Sensor HC‑SR04 + servo (for obstacle avoidance)
- Bluetooth Module (HC‑05/HC‑06) or use ESP Wi‑Fi instead
- Jumper wires, breadboard, screws
Pro tip: Buy a “Arduino Smart Car Kit” → It usually includes chassis, motors, motor driver, IR sensor, and ultrasound module.
Step 1: Assemble the Car Chassis
- Mount motors on the chassis → attach wheels.
- Fit caster wheel (for balance).
- Fix battery pack + motor driver module.
- Attach Arduino/ESP board on top with standoffs/tape.
Step 2: Wire the Components
Motor Driver (L298N) Connections
- IN1 → Arduino D8
- IN2 → Arduino D9
- IN3 → Arduino D10
- IN4 → Arduino D11
- Motors → OUT1/OUT2 (Left), OUT3/OUT4 (Right)
- ENA/ENB → 5V (or PWM pins for speed control)
- Motor Supply → 7V–12V battery
Sensor Connections
- Ultrasonic: Trig → D6, Echo → D7
- IR Line Sensors: OUT pins → Arduino D2 & D3
Bluetooth (Optional)
- HC‑05 TX → Arduino RX (D0)
- HC‑05 RX → Arduino TX (D1) (⚠ add voltage divider for 3.3V)
- VCC → 5V, GND → GND
Step 3: Arduino Code Examples
(A) Basic Forward/Backward Movement
C++
int in1=8, in2=9, in3=10, in4=11;
void setup() {
pinMode(in1,OUTPUT); pinMode(in2,OUTPUT);
pinMode(in3,OUTPUT); pinMode(in4,OUTPUT);
}
void loop() {
// Forward
digitalWrite(in1,HIGH); digitalWrite(in2,LOW);
digitalWrite(in3,HIGH); digitalWrite(in4,LOW);
delay(2000);
// Backward
digitalWrite(in1,LOW); digitalWrite(in2,HIGH);
digitalWrite(in3,LOW); digitalWrite(in4,HIGH);
delay(2000);
}
(B) Obstacle Avoidance Logic
C++
#define trig 6
#define echo 7
int in1=8,in2=9,in3=10,in4=11;
long duration; int distance;
void setup(){
pinMode(in1,OUTPUT); pinMode(in2,OUTPUT);
pinMode(in3,OUTPUT); pinMode(in4,OUTPUT);
pinMode(trig,OUTPUT); pinMode(echo,INPUT);
Serial.begin(9600);
}
int getDistance(){
digitalWrite(trig,LOW); delayMicroseconds(2);
digitalWrite(trig,HIGH); delayMicroseconds(10);
digitalWrite(trig,LOW);
duration=pulseIn(echo,HIGH);
return (duration*0.034/2);
}
void forward(){ digitalWrite(in1,HIGH); digitalWrite(in2,LOW);
digitalWrite(in3,HIGH); digitalWrite(in4,LOW);}
void stopBot(){ digitalWrite(in1,LOW); digitalWrite(in2,LOW);
digitalWrite(in3,LOW); digitalWrite(in4,LOW);}
void left(){ digitalWrite(in1,LOW); digitalWrite(in2,HIGH);
digitalWrite(in3,HIGH); digitalWrite(in4,LOW);}
void right(){ digitalWrite(in1,HIGH); digitalWrite(in2,LOW);
digitalWrite(in3,LOW); digitalWrite(in4,HIGH);}
void loop(){
int d = getDistance();
if(d > 15) forward();
else { stopBot(); delay(500); left(); delay(700); }
}
(C) Bluetooth Controlled Smart Car (using HC‑05)
- Use Arduino Serial to read commands “F”=Forward, “B”=Backward, “L”=Left, “R”=Right, “S”=Stop.
- Then map commands to motor functions.
(We already gave this code in the Bluetooth Robot post ).
(D) ESP Upgrade – Web‑Controlled IoT Car
If using ESP8266/ESP32, you can skip Bluetooth and directly make a Web Server Car:
- Connect ESP → Wi‑Fi.
- Host UI with buttons “Forward / Back / Left / Right / Stop”.
- When tapped → ESP sets GPIO pins for motor driver.
This makes your car controllable by any phone on home Wi‑Fi (or IoT cloud for remote control).
Step 4: Test the Robot
- Upload Arduino sketch.
- Place robot on smooth, flat surface.
- Switch battery ON → Robot drives forward by default → Stops/turns if obstacle detected.
- If Bluetooth module is attached → test with smartphone control commands.
Advanced Upgrades
- Add Line Follower IR sensors → Multi‑mode smart car.
- Add Camera (ESP32‑CAM or Pi Camera) → FPV surveillance smart car.
- Add Cloud Integration → Send sensor data (temperature, distance) to Google Sheets or Thingspeak.
- Add Voice Control → Connect to Google Assistant/Alexa via ESP32.
FAQs
Q1: Arduino or ESP – which is better for Smart Car?
- Arduino Uno → Beginner friendly, simple projects (line follower, obstacle avoidance).
- ESP32/ESP8266 → For smart IoT: Wi‑Fi control, cloud integration, app dashboard.
Q2: Can I control ESP Smart Car through the internet (outside home Wi‑Fi)?
Yes — by using port forwarding, Blynk IoT, or MQTT brokers.
Q3: How many sensors can I add?
As many as GPIOs + power budget allow. Start with 2 IR and 1 ultrasonic.
Conclusion
A DIY Smart Car with Arduino/ESP is one of the best beginner robotics projects:
- Build a moving robot
- Teach it to avoid obstacles, follow lines, or obey phone commands
- Upgrade it with IoT features using ESP Wi‑Fi
For beginners → Start with Arduino Uno.
For IoT learners → Go for ESP32/ESP8266 to unlock wireless smart robotics.
The only limit is your creativity — today it’s a car, tomorrow it’s a self‑driving robot.