Getting Started with ESP32 – Your First IoT Project
Introduction
The ESP32 is one of the most powerful and affordable microcontroller boards for IoT projects. With built‑in Wi‑Fi, Bluetooth, and dual‑core processing, it allows you to connect hardware projects to the internet or your smartphone with ease.
In this beginner guide, you’ll learn:
- How to set up an ESP32 in Arduino IDE.
- How to connect it to your Wi‑Fi.
- Your first IoT project: ESP32 Web Server to control an LED from your phone/browser.
By the end, you’ll have gone from unboxing your ESP32 to hosting a mini IoT smart device
What You Need
- ESP32 DevKit V1 board (classic version works fine).
- Micro‑USB cable (for programming + power).
- Arduino IDE installed on your PC.
- Home Wi‑Fi network (with SSID and password).
- 1x LED + 220Ω resistor (optional, because ESP32 has a built‑in LED on GPIO2).
Step 3: First Program – Connect ESP32 to Wi‑Fi
This verifies your ESP32 is working and can connect to your Wi‑Fi.
C++
#include <WiFi.h>
const char* ssid = “YourWiFiName”;
const char* password = “YourWiFiPassword”;
void setup() {
Serial.begin(115200);
delay(1000);
Serial.println(“Connecting to Wi-Fi…”);
WiFi.begin(ssid, password);
while (WiFi.status() != WL_CONNECTED) {
delay(500);
Serial.print(“.”);
}
Serial.println(“\nWi-Fi connected!”);
Serial.print(“ESP32 IP Address: “);
Serial.println(WiFi.localIP()); // Shows local IP
}
void loop() {
// Nothing here yet
}
✅ Upload → Open Serial Monitor → ESP32 prints “Wi-Fi connected” + its IP address
How to Use It
- Upload the code.
- Open Serial Monitor → Copy the IP address.
- Enter IP into your phone or PC browser.
- You’ll see webpage → Click ON or OFF → LED toggles instantly.
Congrats, you just made your first IoT smart device with ESP32.
Code: ESP32 Web Server LED Control
C++
#include <WiFi.h>
#include <WebServer.h>
const char* ssid = “YourWiFiName”;
const char* password = “YourWiFiPassword”;
WebServer server(80); // HTTP server
int ledPin = 2; // GPIO2 = onboard LED
void handleRoot() {
String page = “<h1>ESP32 Web Server</h1>”;
page += “<p><a href=\”/on\”>Turn ON LED</a></p>”;
page += “<p><a href=\”/off\”>Turn OFF LED</a></p>”;
server.send(200, “text/html”, page);
}
void handleOn() {
digitalWrite(ledPin, HIGH);
server.send(200, “text/html”, “LED is ON<br><a href=\”/\”>Back</a>”);
}
void handleOff() {
digitalWrite(ledPin, LOW);
server.send(200, “text/html”, “LED is OFF<br><a href=\”/\”>Back</a>”);
}
void setup() {
pinMode(ledPin, OUTPUT);
digitalWrite(ledPin, LOW);
Serial.begin(115200);
WiFi.begin(ssid, password);
Serial.print(“Connecting”);
while (WiFi.status() != WL_CONNECTED) {
delay(500);
Serial.print(“.”);
}
Serial.print(“\nConnected! IP: “);
Serial.println(WiFi.localIP());
server.on(“/”, handleRoot);
server.on(“/on”, handleOn);
server.on(“/off”, handleOff);
server.begin();
}
void loop() {
server.handleClient();
}
Project Extensions
- Add multiple LEDs/Relays → Multi‑appliance control.
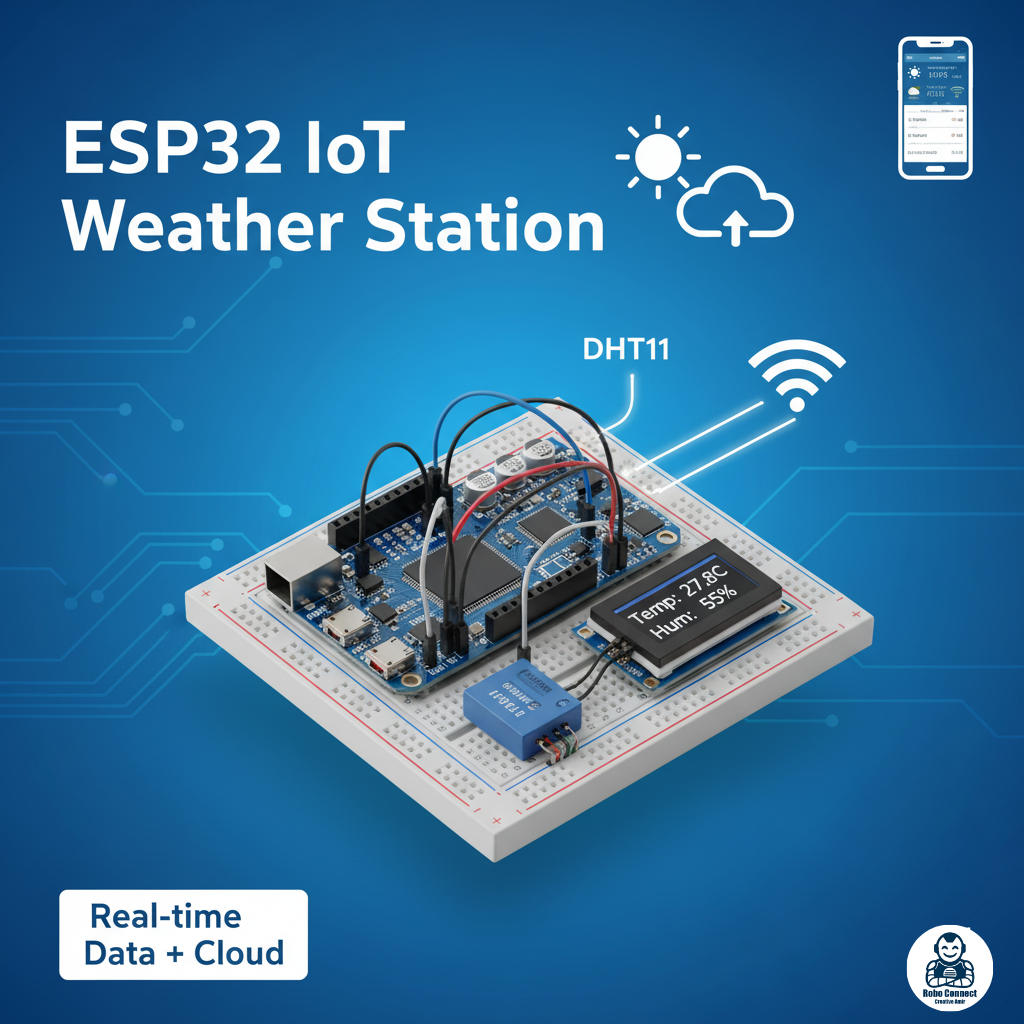
- Add a DHT11/22 sensor → Display temperature/humidity on webpage.
- Add password login to restrict access.
- Upgrade to ESP32 + Blynk, Thingspeak, or Google Sheets for cloud dashboards.