Home Automation with ESP + Relays (Control Appliances from Your Phone)
Introduction
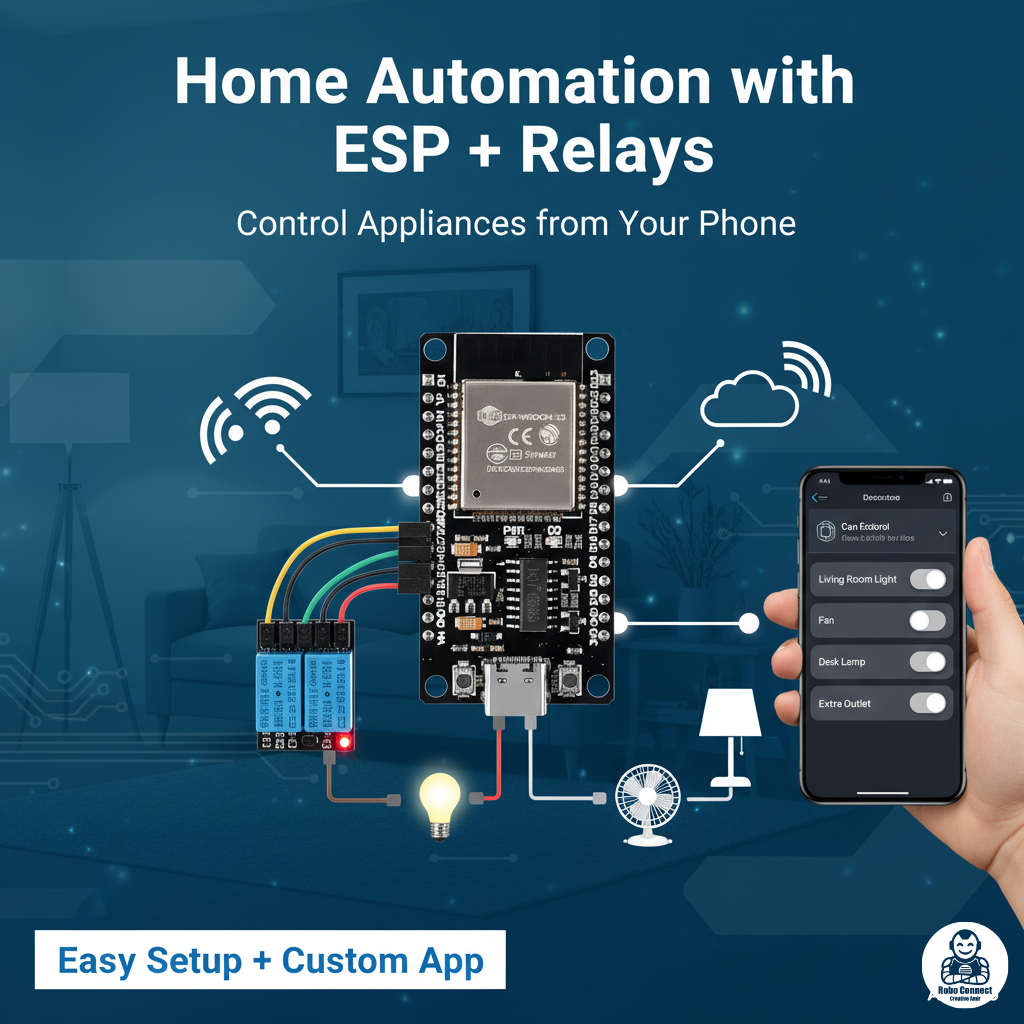
Imagine switching on your room lights from your phone, or turning off the fan while relaxing on the couch. That’s the power of home automation — and the ESP boards (ESP8266 or ESP32) make it affordable and beginner‑friendly.
With just an ESP board + a relay module, you can control appliances from your smartphone using a Wi‑Fi web server. In this guide, we’ll explain:
- What a relay is and why you need it.
- How to connect a relay module with ESP.
- Full example code to create a home automation web server.
By the end, you’ll have your very own smart switch system.
What is a Relay?
A relay is an electrically‑controlled switch. It allows your low‑voltage ESP32/ESP8266 (3.3V logic) to control high‑voltage appliances (like lights, fans, pumps).
- Arduino/ESP GPIO pin → energizes relay coil.
- Relay contacts → switch AC devices ON/OFF.
- Relay modules often include opto‑isolators for safety.
WARNING: Mains electricity (220V/110V AC) is dangerous. Beginners should practice with a low‑voltage bulb (DC 12V or a 5V lamp) before attempting AC appliances.
Wiring (1‑Relay Example)
- Relay IN pin → ESP D1 (GPIO5)
- Relay VCC → 5V pin on ESP board
- Relay GND → GND on ESP board
- External device → connect via relay’s NO/NC contacts
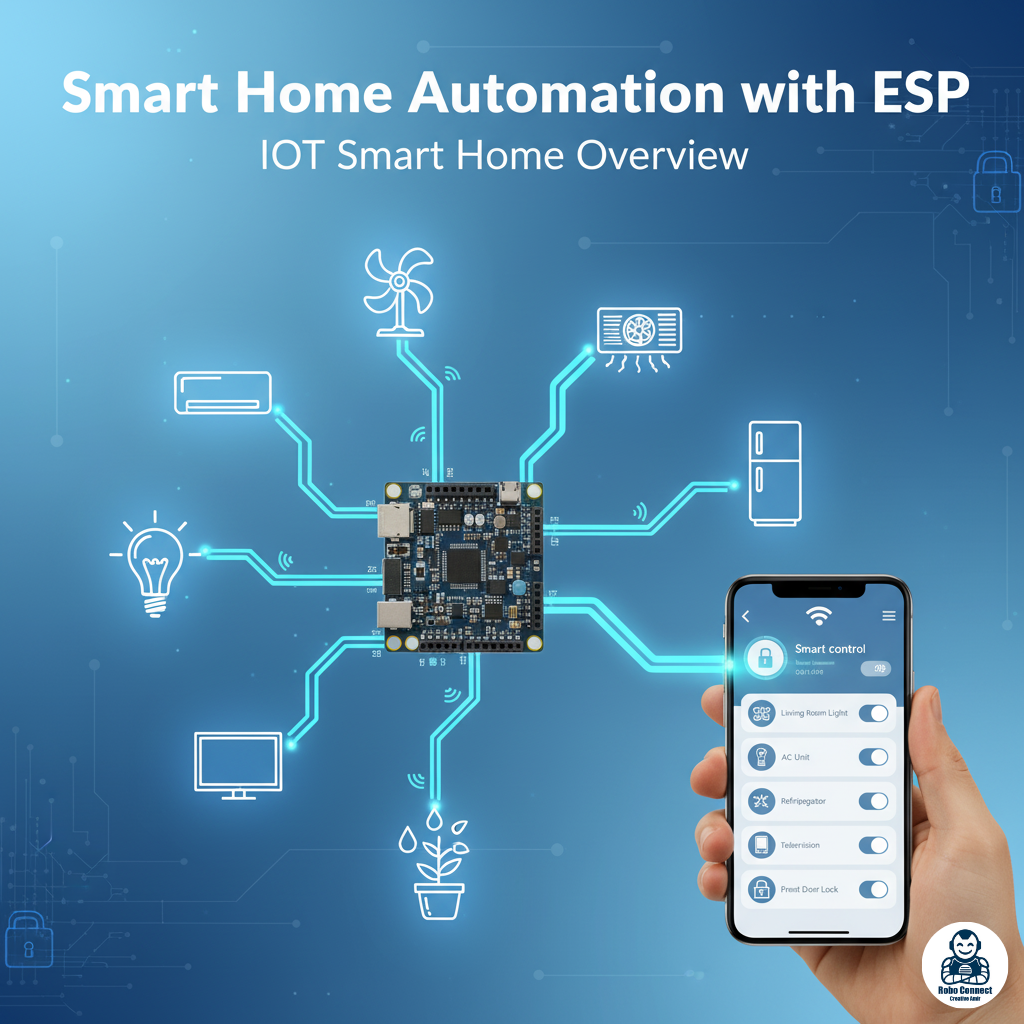
Expanding the Project
- Add multiple relays → Control multiple appliances (light, fan, pump).
- Add password protection → Basic login before switching appliances.
- Integrate sensors (like temperature) → Automate fan or cooler.
- Connect to Blynk/Thingspeak Cloud → Control from anywhere in the world.
How It Works
- ESP connects to your Wi‑Fi.
- Hosts a web page with two buttons (ON/OFF).
- Clicking button sends command → GPIO pin changes → Relay toggles appliance.
👉 Open Serial Monitor to find ESP IP.
👉 Enter that IP in smartphone browser → control your appliance instantly.
Safety Tips
- Always test with a small DC lamp first.
- If using AC mains (220V/110V) → Use relays with isolation and handle wires carefully.
- For permanent installs: Use a certified smart relay module designed for mains.
FAQs
Q1: Can ESP relay projects run without Wi‑Fi?
Yes, ESP can also run in Access Point (AP) mode. Devices connect directly (no router).
Q2: How many relays can ESP control?
As many as GPIO pins allow (often 4–8 on NodeMCU/ESP32 boards). Use driver ICs for more.
Q3: Can I control from outside my home network?
Yes. Options: port‑forwarding, using IoT platforms like Blynk or ESP RainMaker, or MQTT brokers like Mosquitto.