How to Build a Bluetooth Controlled Robot (Step by Step Guide)
Introduction
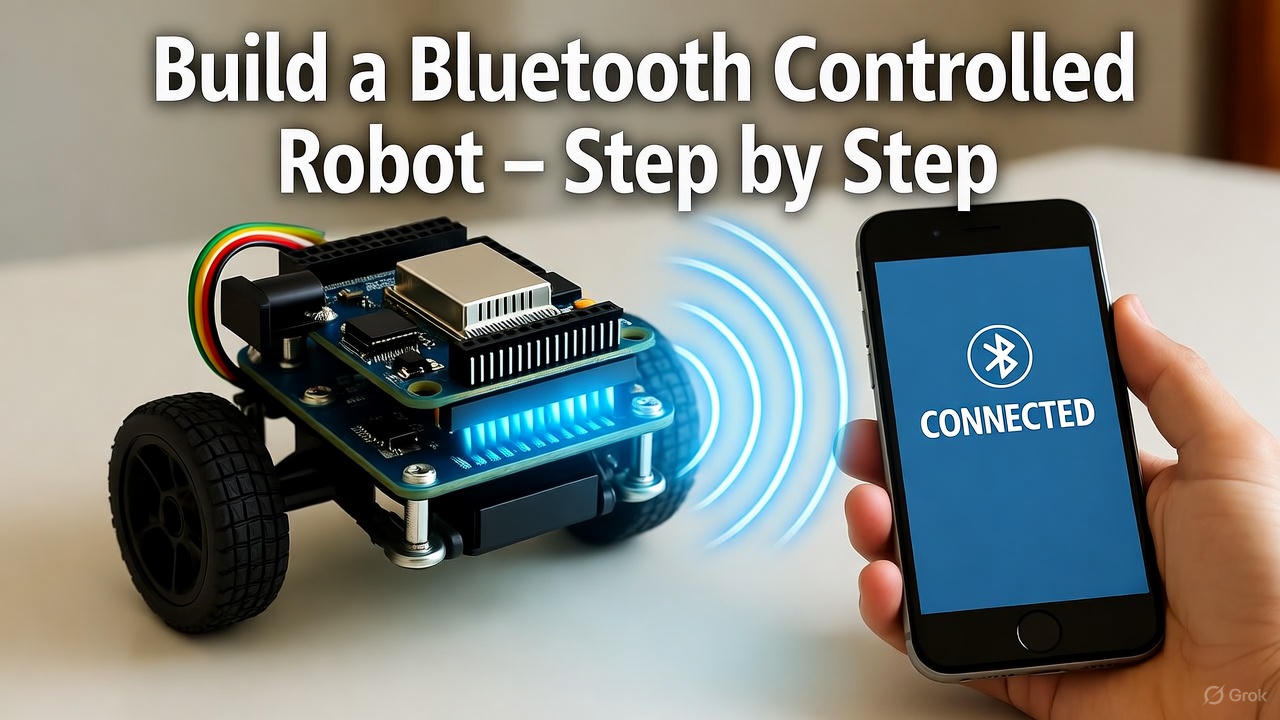
Imagine driving your own robot car 🚗 using just your smartphone — no wires, no remote, just Bluetooth and your Arduino. That’s what a Bluetooth Controlled Robot is all about.
It’s a fun project that teaches:
- Wireless communication (Bluetooth HC‑05/HC‑06 module).
- Motor driver control with Arduino.
- How to pair your robot with a smartphone app.
By the end of this tutorial, your robot will respond to Forward, Backward, Left, Right commands — and you’ll have built your own remote‑controlled car

Components Required
- Arduino Uno (or Nano)
- HC‑05 or HC‑06 Bluetooth Module
- L298N Motor Driver Module
- 2x DC Motors + Wheels (or 4‑wheel chassis)
- Robot car chassis + battery pack (6–12V)
- Jumper wires & breadboard (optional)
- Android smartphone with Bluetooth Terminal/Control App
Tip: Many e‑commerce sites sell this as an Arduino Robot Car Kit — saves time gathering parts.
How It Works
- Your smartphone sends commands via Bluetooth (“F”=Forward, “B”=Backward, “L”=Left, “R”=Right).
- HC‑05 module receives the command and passes it to Arduino.
- Arduino runs code to interpret command → sets motor driver pins accordingly.
- The L298N then drives the motors to move the robot.
In short: Phone → Bluetooth → Arduino → Motor Driver → Motors → ROBOT MOVES!
Circuit Wiring
- Bluetooth Module HC‑05
- VCC → 5V (Arduino)
- GND → GND
- TX → Arduino RX (pin 0)
- RX → Arduino TX (pin 1) (⚠ Use a voltage divider to drop 5V → 3.3V, since HC‑05 RX is 3.3V tolerant)
- L298N Motor Driver
- IN1 → Arduino D8
- IN2 → Arduino D9
- IN3 → Arduino D10
- IN4 → Arduino D11
- ENA → 5V (or Arduino PWM pin for speed control)
- ENB → 5V (same as above)
- Motor A → Left motor
- Motor B → Right motor
- Motor supply (12V battery pack) → Vcc of L298N
- Common
- Arduino GND → L298N GND → HC‑05 GND.
(Insert simple wiring diagram: Arduino + HC‑05 + L298N + Motors)
Arduino Code (Bluetooth Robot Control)
C++
char command; // Stores received Bluetooth command
// Motor driver pins
int in1 = 8;
int in2 = 9;
int in3 = 10;
int in4 = 11;
void setup() {
Serial.begin(9600); // Start serial for Bluetooth communication
pinMode(in1, OUTPUT);
pinMode(in2, OUTPUT);
pinMode(in3, OUTPUT);
pinMode(in4, OUTPUT);
}
void loop() {
if (Serial.available() > 0) {
command = Serial.read(); // Read command from phone
Serial.println(command);
switch(command) {
case ‘F’: // Forward
digitalWrite(in1, HIGH);
digitalWrite(in2, LOW);
digitalWrite(in3, HIGH);
digitalWrite(in4, LOW);
break;
case ‘B’: // Backward
digitalWrite(in1, LOW);
digitalWrite(in2, HIGH);
digitalWrite(in3, LOW);
digitalWrite(in4, HIGH);
break;
case ‘L’: // Left
digitalWrite(in1, LOW);
digitalWrite(in2, HIGH);
digitalWrite(in3, HIGH);
digitalWrite(in4, LOW);
break;
case ‘R’: // Right
digitalWrite(in1, HIGH);
digitalWrite(in2, LOW);
digitalWrite(in3, LOW);
digitalWrite(in4, HIGH);
break;
case ‘S’: // Stop
digitalWrite(in1, LOW);
digitalWrite(in2, LOW);
digitalWrite(in3, LOW);
digitalWrite(in4, LOW);
break;
}
}
}
Step‑by‑Step Build Process
- Assemble the chassis: Fix motors, wheels, and battery pack.
- Connect components: Arduino + Bluetooth + L298N → Motors.
- Upload Arduino code: Paste above sketch into Arduino IDE.
- Pair Bluetooth module with phone:
- Turn on robot → open phone Bluetooth → Pair with “HC‑05” (password often 1234 or 0000).
- Open control app: On Android, use “Arduino Bluetooth Controller” or “Bluetooth Terminal”.
- Send commands:
- F → Forward
- B → Backward
- L → Left
- R → Right
- S → Stop
That’s it → Robot now obeys your smartphone commands!
Tips & Troubleshooting
- If the robot wheels move in the opposite direction → swap motor wires.
- To control speed → use analogWrite() on L298N ENA/ENB pins instead of tying them to 5V.
- Ensure common ground between Arduino, L298N, and HC‑05.
- If RX/TX pins conflict with USB → unplug HC‑05 while uploading sketch.
Advanced Upgrades
- Add Ultrasonic sensor → Robot stops when obstacle detected.
- Use custom Bluetooth controller app with directional buttons.
- Add voice commands from phone (“Forward”, “Stop”).
- Upgrade to Wi‑Fi control (ESP32/ESP8266) for long range.
FAQs
Q1: Can I use ESP32 instead of Arduino + HC‑05?
Yes: ESP32 has Bluetooth built‑in, so you don’t need an extra module.
Q2: Can I control the robot from an iPhone?
HC‑05 works with Android only (Classic Bluetooth). For iOS, use Wi‑Fi or Bluetooth Low Energy (ESP32).
Q3: Why use L298N motor driver?
Because Arduino can’t provide enough current to directly drive DC motors.
Conclusion
A Bluetooth Controlled Robot is an awesome step into robotics:
- Teaches wireless communication.
- Combines Arduino coding + motor driver circuits.
- Results in a satisfying robot you control from your phone.
Start with basic directional control, then upgrade with sensors, voice, and IoT for a real smart robot.