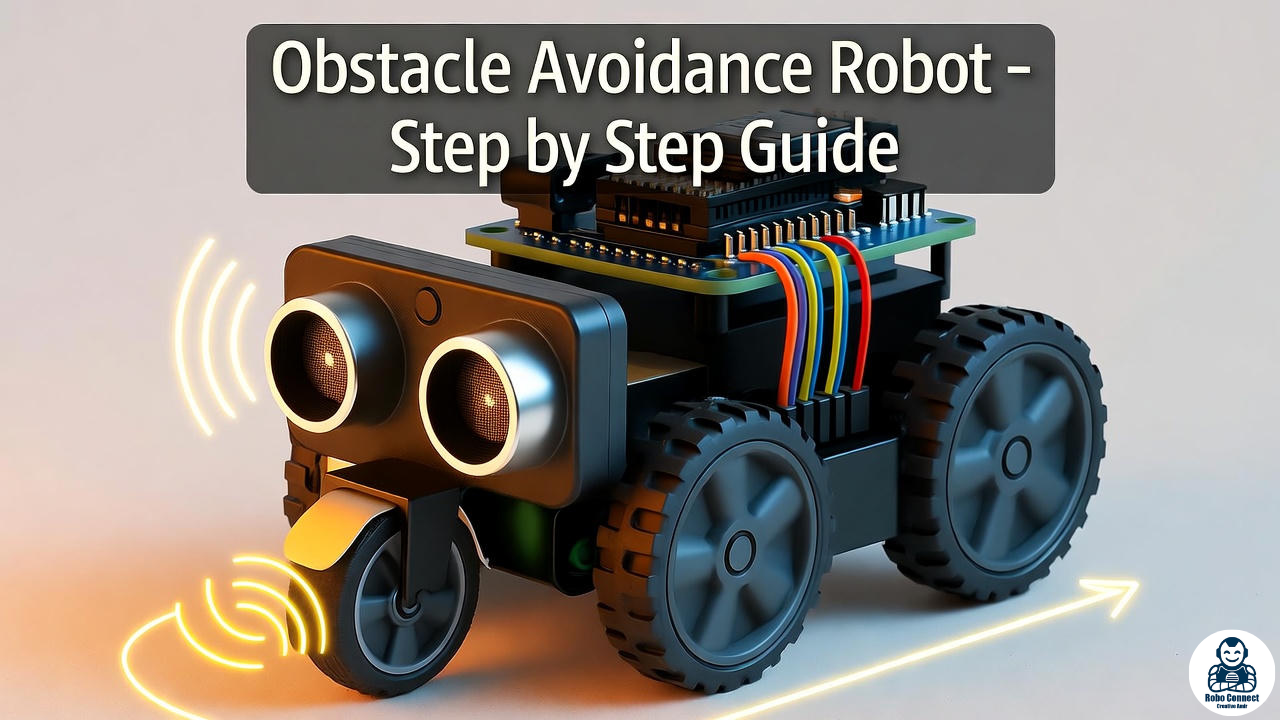
How to Build an Obstacle Avoidance Robot (Step by Step Arduino Guide)
Introduction
Robots that can see and dodge obstacles are the foundation of autonomous navigation — from self‑driving cars to warehouse robots.
An Obstacle Avoidance Robot is a mobile robot that uses an ultrasonic sensor to detect obstacles ahead, then automatically changes its path to avoid crashing.
This project is the perfect way to learn how to combine:
- Motors & Wheels (movement)
- Sensor Input (distance detection with HC‑SR04)
- Arduino Code (the logic to avoid collisions)
By the end of this guide, you’ll have a robot car that can roam freely without bumping into walls.
Components Required
- Arduino Uno (or Nano)
- L298N Motor Driver Module
- 2x DC Motors + Robot Car Chassis
- HC‑SR04 Ultrasonic Sensor
- Small Servo Motor (to rotate ultrasonic sensor for better “vision”)
- Battery pack (6–12V)
- Jumper wires
Optional but recommended: Robot chassis kit that includes motors, wheels, and driver board.
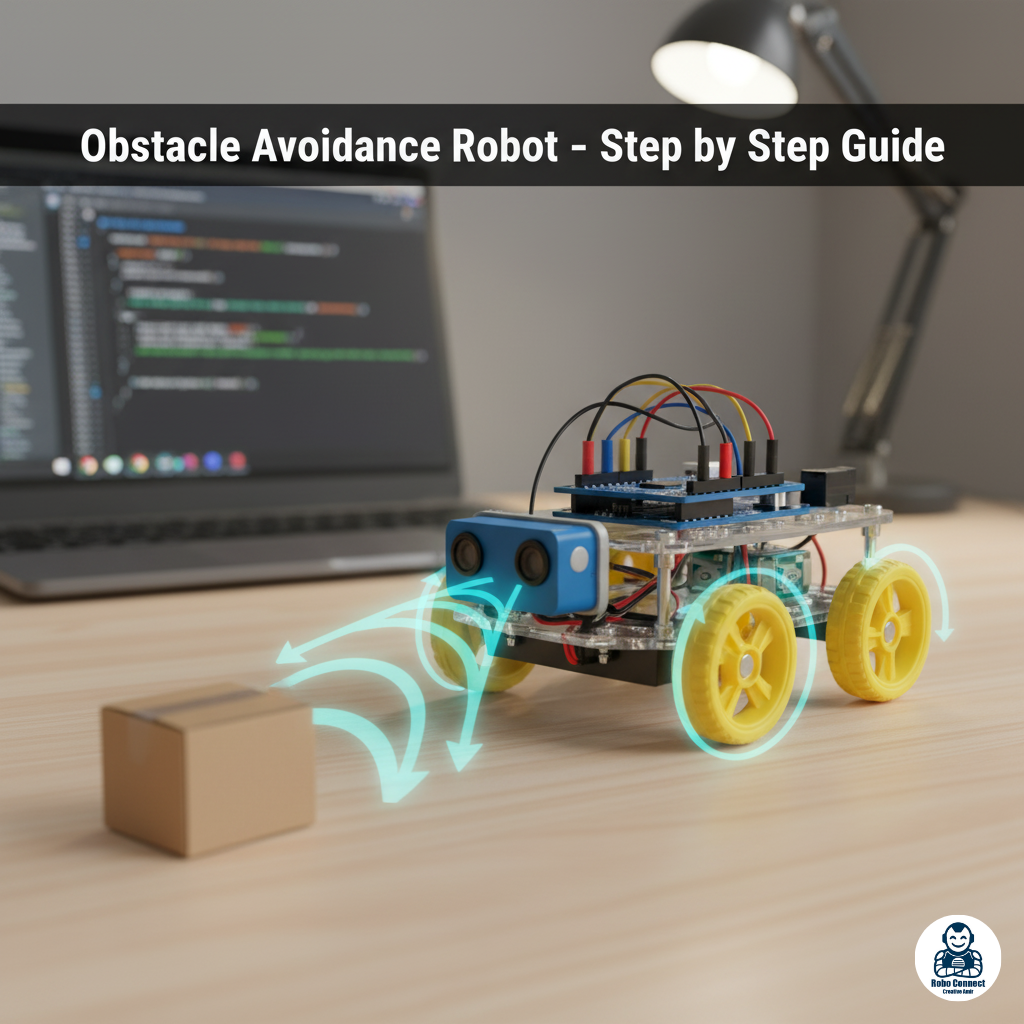
How It Works
- The HC‑SR04 ultrasonic sensor sends out sound waves.
- Sound bounces back from any obstacle.
- Arduino calculates distance based on time taken.
- If obstacle < safe distance (e.g., 15 cm) → Robot stops and turns. Otherwise → Moves forward.
👉 Simple feedback loop = a self‑navigating bot!
Wiring Overview
- Motor Driver (L298N)
- IN1 → Arduino D8
- IN2 → Arduino D9
- IN3 → Arduino D10
- IN4 → Arduino D11
- Motor A & B → DC Motors (robot wheels)
- ENA/ENB → 5V (or use PWM for speed control)
- 12V battery → Motor power
- Ultrasonic Sensor HC‑SR04
- Trig → Arduino D6
- Echo → Arduino D7
- VCC → 5V, GND → GND
- Servo Motor (Optional: for sensor rotation)
- Signal → Arduino D3
- VCC → 5V, GND → GND
(Insert diagram suggestion: Robot car chassis + ultrasonic sensor “mounted as eyes” on a servo)
Arduino Code (Obstacle Avoidance Robot)
C++
#include <Servo.h>
// Motor pins
int in1 = 8;
int in2 = 9;
int in3 = 10;
int in4 = 11;
// Ultrasonic pins
int trig = 6;
int echo = 7;
// Servo pin
Servo myservo;
int servoPin = 3;
long duration;
int distance;
void setup() {
pinMode(in1, OUTPUT);
pinMode(in2, OUTPUT);
pinMode(in3, OUTPUT);
pinMode(in4, OUTPUT);
pinMode(trig, OUTPUT);
pinMode(echo, INPUT);
myservo.attach(servoPin);
myservo.write(90); // look forward initially
Serial.begin(9600);
}
// Function to measure distance
int getDistance() {
digitalWrite(trig, LOW); delayMicroseconds(2);
digitalWrite(trig, HIGH); delayMicroseconds(10);
digitalWrite(trig, LOW);
duration = pulseIn(echo, HIGH);
distance = duration * 0.034 / 2; // in cm
return distance;
}
// Movement functions
void forward() {
digitalWrite(in1, HIGH); digitalWrite(in2, LOW);
digitalWrite(in3, HIGH); digitalWrite(in4, LOW);
}
void backward() {
digitalWrite(in1, LOW); digitalWrite(in2, HIGH);
digitalWrite(in3, LOW); digitalWrite(in4, HIGH);
}
void left() {
digitalWrite(in1, LOW); digitalWrite(in2, HIGH);
digitalWrite(in3, HIGH); digitalWrite(in4, LOW);
}
void right() {
digitalWrite(in1, HIGH); digitalWrite(in2, LOW);
digitalWrite(in3, LOW); digitalWrite(in4, HIGH);
}
void stopBot() {
digitalWrite(in1, LOW); digitalWrite(in2, LOW);
digitalWrite(in3, LOW); digitalWrite(in4, LOW);
}
void loop() {
int dist = getDistance();
Serial.print(“Distance = “);
Serial.println(dist);
if (dist < 15) {
stopBot();
delay(500);
backward();
delay(500);
stopBot();
// Scan left & right
myservo.write(0); delay(500);
int distLeft = getDistance();
myservo.write(180); delay(500);
int distRight = getDistance();
myservo.write(90); // Reset forward
if (distLeft > distRight) {
left();
delay(700);
} else {
right();
delay(700);
}
} else {
forward();
}
}
Step‑by‑Step Build Process
- Mount motors + wheels on chassis.
- Attach servo motor at front as “head.”
- Fix Ultrasonic sensor to servo bracket (so it can pan).
- Wire Arduino → L298N → Motors + Sensor.
- Upload Arduino Code.
- Power robot with battery → Place in open space.
- Watch as it navigates freely, avoiding obstacles.
Troubleshooting
- Robot not moving? → Check L298N motor power supply (needs >7V for wheels).
- Sensor always shows 0 cm? → Ensure Trig/Echo pins are wired correctly.
- Bot spinning wildly? → Motors wired backward — swap left/right pairs.
- Delayed response? → Reduce servo rotation angles for faster scanning.
Advanced Upgrades
- Add IR sensors → Prevent falling off edges (like a table).
- Add Bluetooth/Wi‑Fi → Override robot manually.
- Add Camera + OpenCV → Vision‑based obstacle detection.
- Turn into a maze‑navigation robot with mapping algorithms.
FAQs
Q1: Can I build this without servo motor?
Yes — mount ultrasonic sensor fixed forward. Robot will only move back + turn blindly.
Q2: Can Raspberry Pi control this robot?
Yes, with Python GPIO + ultrasonic library. Pi even adds computer vision.
Q3: What power source should I use?
A 9V battery may be too weak. Use 2x 18650 cells (7.4V) or a 6–12V battery pack.
Conclusion
The Obstacle Avoidance Robot is one of the best beginner projects to learn autonomous robotics.
- Ultrasonic works as the eyes .
- Arduino works as the brain .
- DC motors are the muscles .
With just these, you built a robot that thinks and reacts on its own.
Next, you can add more sensors or even computer vision for advanced robotics.