Introduction
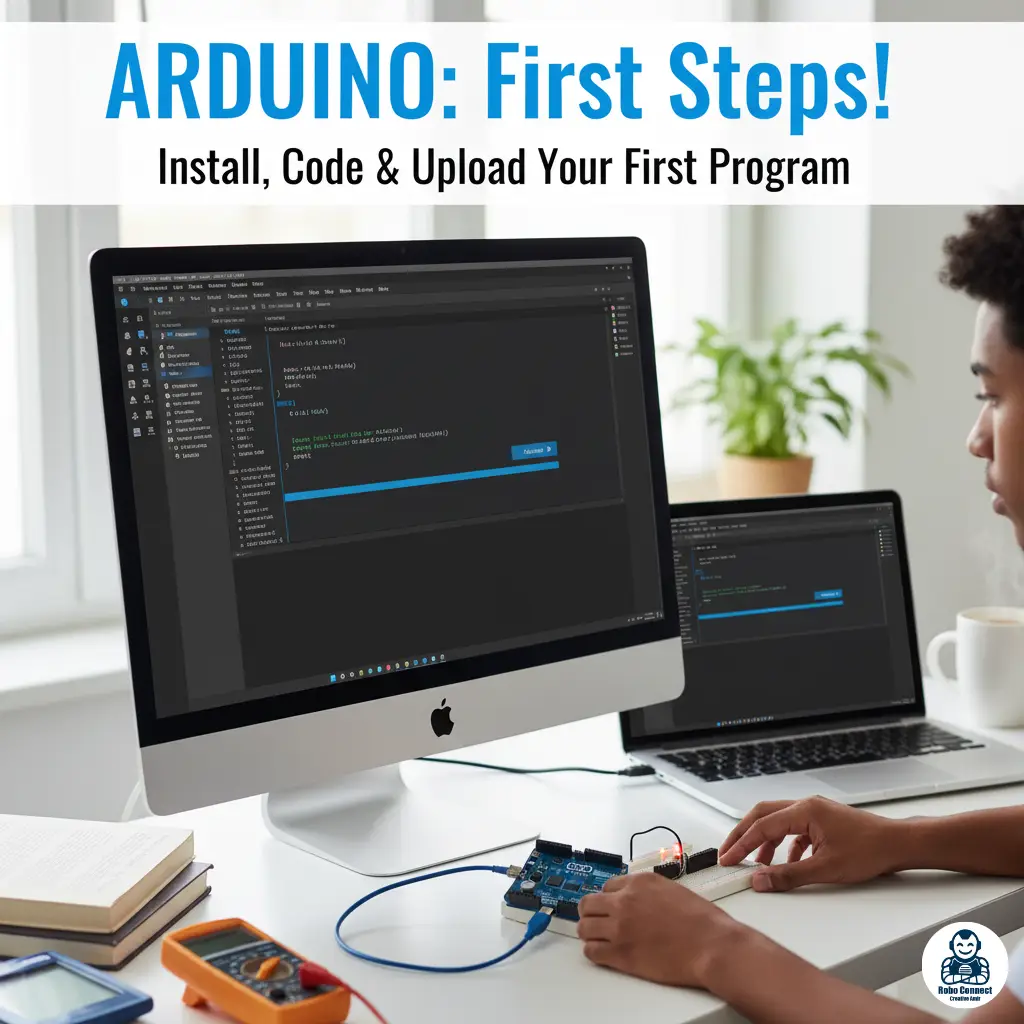
You’ve got your Arduino board in hand. Exciting! But before you can bring it to life, you need the Arduino IDE (Integrated Development Environment). This is the free software that lets you write code, upload it to your board, and watch it run.
In this guide, we’ll walk through:
- Downloading and installing the Arduino IDE
- Connecting your Arduino board correctly
- Writing and uploading your very first program (the famous “Blink” LED test)
By the end, your Arduino will be blinking proudly—just like saying: “Hello, World!”
See The Video Tutorial
Step 1: Download the Arduino IDE
- Go to the official Arduino website: https://www.arduino.cc/en/software.
- Choose the correct version for your operating system (Windows, macOS, Linux).
- Download and install—just like any other program.
💡 Pro Tip: Beginners should stick to the stable release, not beta versions, to avoid confusing issues.
Step 2: Install Drivers (If Needed)
- Most genuine Arduino boards (like Arduino Uno) are plug‑and‑play.
- Some clones may require extra USB drivers (like CH340). These are usually included in the kit or available online.
👉 Without drivers installed, your computer won’t “see” the Arduino when you plug it in
Step 3: Connect Your Arduino Board
- Plug your board into your computer with a USB cable (the one your kit came with).
- The board should light up (power LED).
- Windows/macOS should recognize it—if not, check your drivers.
Step 5: Select the Correct Board and Port
This tells the IDE “which Arduino to talk to.”
- Go to the Tools menu.
- Select Board → Arduino Uno (or your board type).
- Then go to Tools → Port → COM3/COM4 (on Windows) or /dev/ttyUSB (on Linux/Mac).
👉 If you’re unsure, unplug your Arduino and see which port disappears. That’s your Arduino
Step 7: Upload Your First Program
- Click the ✓ Verify button (top left) to compile the code.
- Click the → Upload button.
- If all goes well, you’ll see a “Done Uploading” message.
🎉 Now check your Arduino: the onboard LED (usually labeled L near Pin 13) is blinking on and off
Step 6: Write Your First Program (Blink)
The Blink sketch is Arduino’s “Hello World!”
Steps:
- In IDE, go File → Examples → 01 Basics → Blink.
- A code window opens showing the Blink program.
- This program makes the LED on pin 13 blink on and off every second.
💡 No need to type anything—it comes pre‑loaded as an example.
Step 7: Upload Your First Program
- Click the ✓ Verify button (top left) to compile the code.
- Click the → Upload button.
- If all goes well, you’ll see a “Done Uploading” message.
🎉 Now check your Arduino: the onboard LED (usually labeled L near Pin 13) is blinking on and off
Common Errors & Fixes
- Upload Error / Timeout → Double‑check you’ve selected the right port and board type.
- Driver Not Found → Install the CH340 driver if using a clone board.
- Permission denied (Linux/Mac) → Give user permission to access USB port.
Next Projects
Now that your Arduino blinked, you’re officially Arduino‑alive 🎇! Your next steps:
- Try changing the delay time in the Blink code (make LED blink faster/slower).
- Explore File → Examples to discover other beginner sketches.
- Move to Arduino Digital vs Analog Pins Explained (Post #3 in this series).