Introduction
If electronics is the language of robots, soldering is its glue.
Soldering is the process of joining two metal surfaces using melted solder (a metal alloy). It makes electrical connections permanent — ensuring your robots, sensors, or circuits don’t fall apart like on a breadboard.
In this guide, we’ll cover:
- What soldering is and why it matters.
- Essential tools for beginners.
- Step‑by‑step soldering process.
- Safety tips and mistakes to avoid.
By the end, you’ll feel confident to pick up a soldering iron and start building your own DIY electronics.
What is Soldering?
- Solder: Soft metal alloy (usually tin + lead, or modern lead‑free tin + copper) → melts at low temperature (~180–250°C).
- Soldering Iron: Heated tool that melts solder → bonds metal pads/wires → solid electrical connection when cooled.
Soldering = melting tiny “metal glue” to hold wires and components securely.
Why Do You Need Soldering in Robotics & Electronics?
- To make permanent circuits (beyond breadboard).
- For assembling PCBs (Printed Circuit Boards).
- Joining wires for motors, sensors, LEDs.
- Repairing broken electronics.
Essential Tools for Soldering
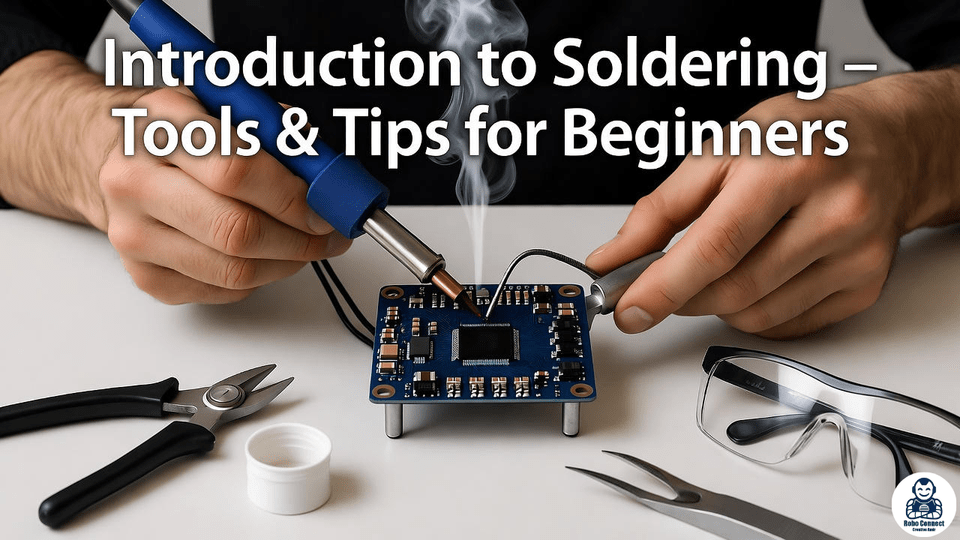
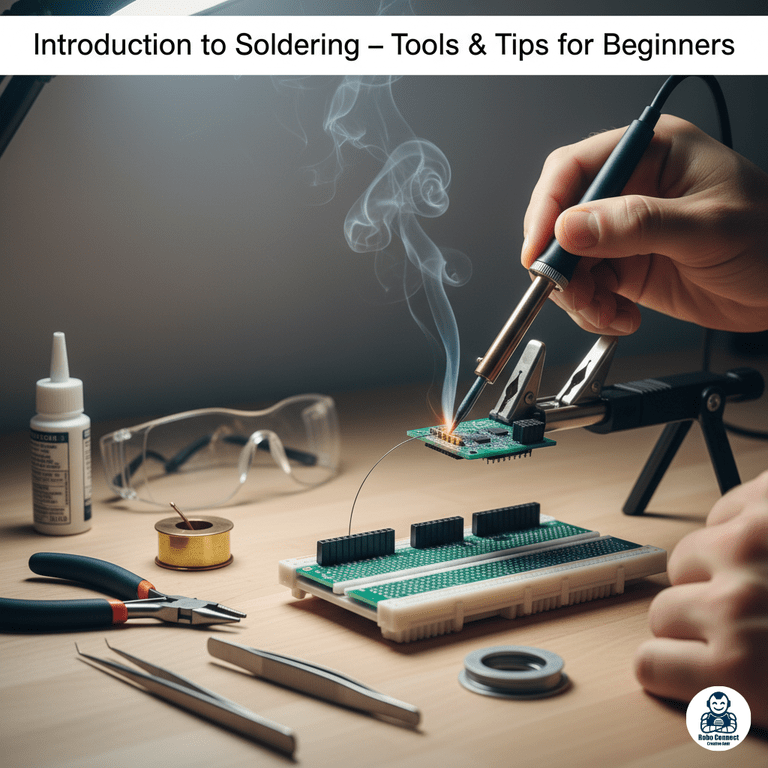
- Soldering Iron (Basic/Station)
- Beginner: 30–60W pen‑style iron.
- Pro: Temperature‑controlled soldering station (Hakko, Weller).
- Solder Wire
- 60/40 Tin‑Lead = super easy to learn, but lead‑free is safer for health.
- Diameter: 0.5–1mm (good for beginner robotics work).
- Flux
- Cleans surface, improves solder flow.
- Often included in flux‑core solder wire.
- Helping Hands/PCB Holder
- Small stand or clips that hold your circuit steady.
- Sponge or Brass Wool
- For cleaning soldering tip.
- Desoldering Tools
- Wick (copper braid) or Desolder Pump (sucker) → fixes mistakes.
- Safety Equipment
- Goggles, fume extractor, heat‑resistant mat.
Step‑by‑Step Soldering Process
- Heat the Joint, Not the Solder
- Place iron tip on component lead + PCB pad (or wire).
- Feed Solder Into Joint
- Once heated, touch solder wire → it flows around lead + pad.
- Remove Solder, Then Iron
- Remove solder first, then iron. Let joint cool (1–2 sec).
- Inspect Solder Joint
- Should look shiny, smooth → like a “tiny volcano.”
Common Soldering Mistakes to Avoid
- Cold Joint: Dull, lumpy solder (too little heat).
- Too Much Solder: Blobs bridging pads.
- Burned Components: Holding iron too long on sensitive ICs.
- Dirty Tip: Always clean tip on sponge/brass wool.
Safety Tips
- Always treat iron tip as HOT (350°C+).
- Use fume extractor or low‑smoke solder indoors.
- Wear safety glasses.
- Keep workspace clutter‑free.
Practical Beginner Exercises
- Start by soldering wires together.
- Practice on a PCB solder practice kit (these cost just $5–10).
- Move to real Arduino/ESP pin headers, LED circuits.
FAQs
Q1: Can I ruin my Arduino by soldering?
If careful, no. Just keep iron tip time short (<2 sec per pad).
Q2: What’s better: leaded or lead‑free solder?
Lead solder is easier to use, lead‑free safer and RoHS compliant. Beginners may start with 60/40, then move to lead‑free.
Q3: Do I need temp control iron?
Not mandatory, but helps prevent overheating sensitive parts.
Conclusion
Soldering is one of the most useful skills for robotics DIYers. Once you master it, you can:
- Build durable robot circuits.
- Assemble PCBs.
- Fix electronics.
Start small with wires + practice boards → and you’ll soon be confident soldering complex robotics kits.

