Motor Drivers Explained: L293D, L298N, A4988 (Beginner’s Guide)
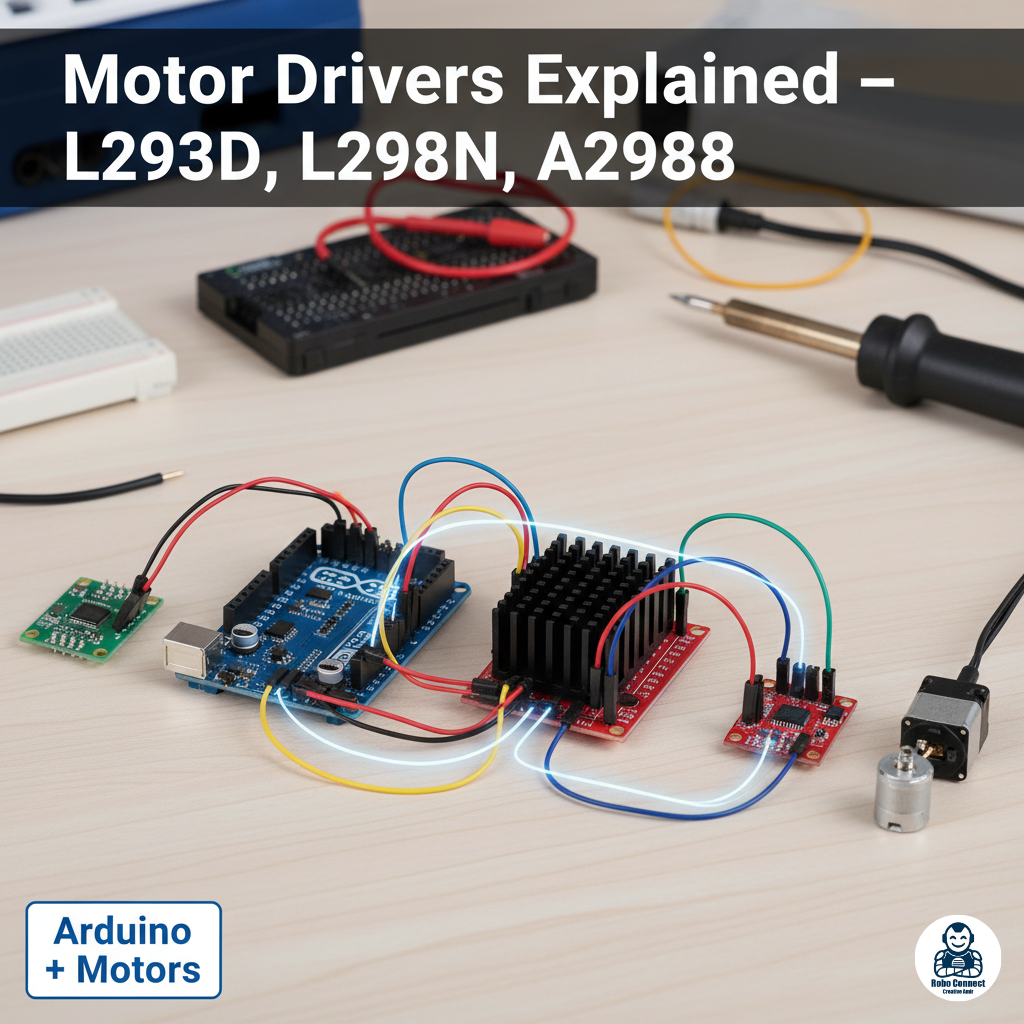
Introduction
Motors are power‑hungry beasts. Your Arduino, ESP, or Raspberry Pi GPIO pins can only provide a tiny amount of current — enough to blink LEDs, but nowhere near enough to spin a motor.
That’s where motor drivers come in. They act as the middleman between your microcontroller (the brain) and motors (the muscles).
In this guide, we’ll explain:
- What a motor driver is.
- The difference between popular motor drivers L293D, L298N, and A4988.
- How to use them in real beginner projects with DC motors, servos, and steppers.
- Example Arduino codes.
What is a Motor Driver?
A motor driver IC (Integrated Circuit) or module is an electronic component that:
- Takes LOW‑power signals from a microcontroller.
- Amplifies them.
- Sends HIGH‑power signals to drive motors safely.
Without a driver, connecting a motor directly to Arduino/RPi pins = burnt board .
Popular Motor Driver ICs / Modules
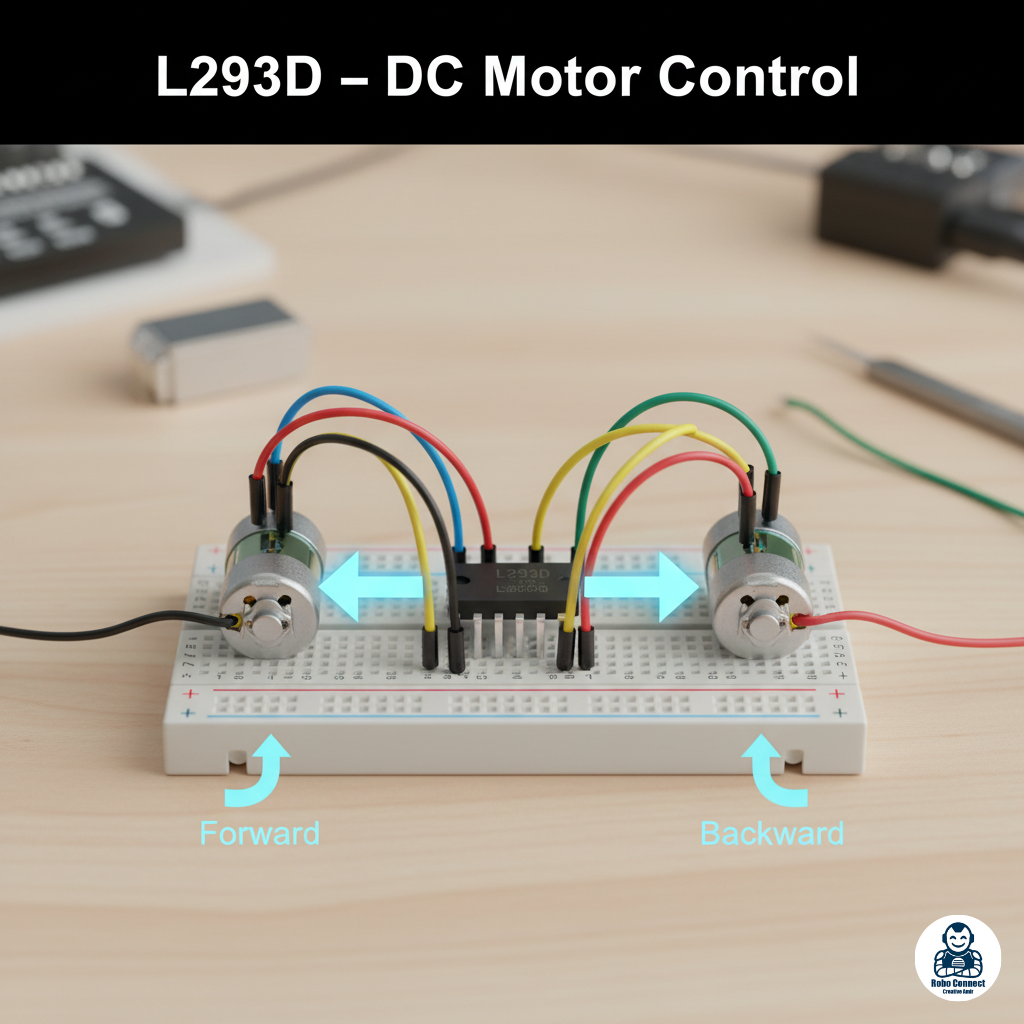
- L293D (Classic DC Motor Driver IC)
- Type: H‑Bridge driver (looks like a small chip).
- Motors Supported: 2 DC motors (or 1 stepper motor).
- Voltage: 4.5V–36V.
- Current per channel: ~600mA.
- Features: Compact, breadboard‑friendly, commonly used in small Arduino robot cars.
Basic Wiring:
- IN1, IN2 → Arduino pins (direction).
- EN1 → Arduino PWM pin (speed).
- OUT1, OUT2 → Motor terminals.
- Vcc1 (logic 5V), Vcc2 (motor supply, e.g., 6V/9V battery).
Code Example (Run DC Motor):
C++
int in1 = 9;
int in2 = 8;
void setup() {
pinMode(in1, OUTPUT);
pinMode(in2, OUTPUT);
}
void loop() {
digitalWrite(in1, HIGH);
digitalWrite(in2, LOW); // Forward
delay(2000);
digitalWrite(in1, LOW);
digitalWrite(in2, HIGH); // Reverse
delay(2000);
digitalWrite(in1, LOW);
digitalWrite(in2, LOW); // Stop
delay(2000);
}
- L298N (Most Popular Motor Driver Module)
- Type: Dual H‑Bridge module (bigger, robust).
- Motors Supported: 2 DC motors (or 1 stepper).
- Voltage: 5V–35V.
- Current per channel: up to 2A (depending on heat sink).
- Features: Often comes as a module with screw terminals & onboard voltage regulator.
Basic Wiring:
- IN1, IN2 → Arduino pins (direction for Motor A).
- ENA → PWM pin (speed).
- OUT1, OUT2 → Motor A.
- Same for IN3, IN4, ENB for Motor B.
- Supply 12V battery to power motors + 5V from Arduino for logic.
Code Example (Control 2 Motors like Car Wheels):
C++
// Motor A pins
int in1 = 9;
int in2 = 8;
int enA = 5;
// Motor B pins
int in3 = 7;
int in4 = 6;
int enB = 10;
void setup() {
pinMode(in1, OUTPUT); pinMode(in2, OUTPUT);
pinMode(in3, OUTPUT); pinMode(in4, OUTPUT);
}
void loop() {
// Forward
digitalWrite(in1, HIGH); digitalWrite(in2, LOW);
digitalWrite(in3, HIGH); digitalWrite(in4, LOW);
analogWrite(enA, 200); // speed
analogWrite(enB, 200);
delay(2000);
// Backward
digitalWrite(in1, LOW); digitalWrite(in2, HIGH);
digitalWrite(in3, LOW); digitalWrite(in4, HIGH);
delay(2000);
// Stop
digitalWrite(in1, LOW); digitalWrite(in2, LOW);
digitalWrite(in3, LOW); digitalWrite(in4, LOW);
delay(2000);
}
This is the #1 driver used in Arduino robot cars.
- A4988 (Stepper Motor Driver)
- Type: Stepper motor driver.
- Motors Supported: Bipolar stepper.
- Voltage: 8V–35V.
- Current per phase: ~2A (with cooling).
- Features: Microstepping (1/2, 1/4, 1/8, 1/16) → smoother motion.
Pins: STEP (pulse pin), DIR (direction pin), ENABLE, VMOT (motor voltage), sleep/reset.
Basic Wiring:
- STEP → Arduino digital pin.
- DIR → Arduino digital pin.
- 4 motor wires → A1, A2, B1, B2 outputs.
- 12V supply to VMOT.
Code Example (Stepper Control):
C++
int dirPin = 2;
int stepPin = 3;
void setup() {
pinMode(dirPin, OUTPUT);
pinMode(stepPin, OUTPUT);
}
void loop() {
digitalWrite(dirPin, HIGH);
for(int x = 0; x < 200; x++) {
digitalWrite(stepPin, HIGH);
delayMicroseconds(1000);
digitalWrite(stepPin, LOW);
delayMicroseconds(1000);
}
delay(1000);
digitalWrite(dirPin, LOW); // Reverse
for(int x = 0; x < 200; x++) {
digitalWrite(stepPin, HIGH);
delayMicroseconds(1000);
digitalWrite(stepPin, LOW);
delayMicroseconds(1000);
}
delay(1000);
}
Widely used in 3D printers, CNC machines, and camera sliders.
Comparison Table
| Feature | L293D | L298N | A4988 |
| Type | H‑Bridge IC | H‑Bridge Module | Stepper Driver |
| Motors Supported | 2 DC / 1 stepper | 2 DC / 1 stepper | 1 Bipolar stepper only |
| Current Capacity | ~600mA per motor | ~2A per channel | ~2A per phase |
| Voltage | 4.5–36V | 5–35V | 8–35V |
| Best Use Cases | Small robots, toys | Robot cars, heavy DC motors | CNC, 3D printing, precise robotics |
Which One Should You Use?
- L293D → Compact, beginner‑friendly, small robot cars, low‑power motors.
- L298N → Versatile, can handle bigger robot cars/ROVs, widely supported.
- A4988 → Advanced robotics requiring precise movement (3D printer, CNC).
FAQs
Q1: Why can’t I connect motor directly to Arduino pins?
Arduino pins only provide ~40mA max; DC motors need hundreds of mA to Amps → fry danger!
Q2: Can one driver run both DC and Stepper?
Yes, L293D and L298N can do either 2 DCs or 1 stepper, while A4988 is ONLY for steppers.
Q3: Which is easier for complete beginners?
The L298N module → easy wiring with screw terminals.
Conclusion
Motor drivers are the unsung heroes of robotics projects.
- L293D: Tiny, educational, great for school robotics.
- L298N: Robust, perfect for most DIY cars and bots.
- A4988: Precision driver powering 3D printers and CNC machines.
Pick your driver based on motor type + current needs. Once you master them, you can make wheels spin, robot arms bend, and CNC machines carve.