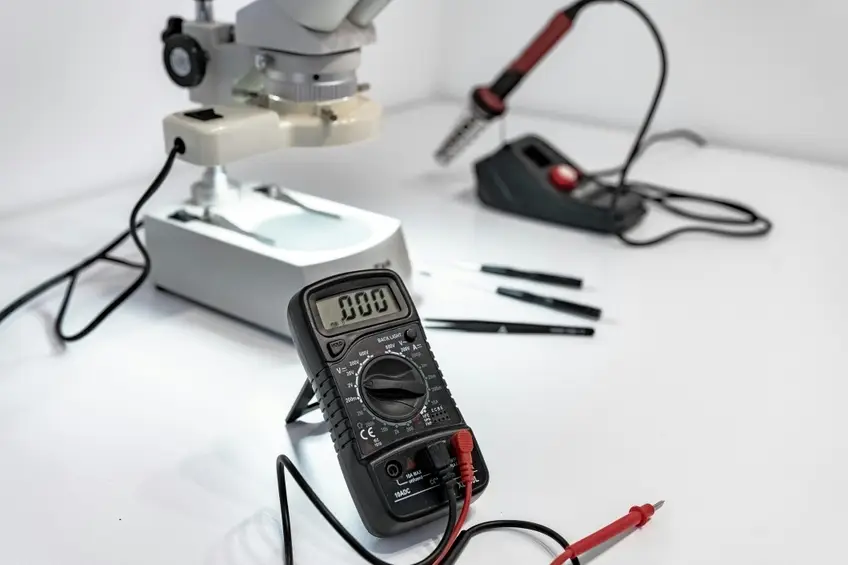
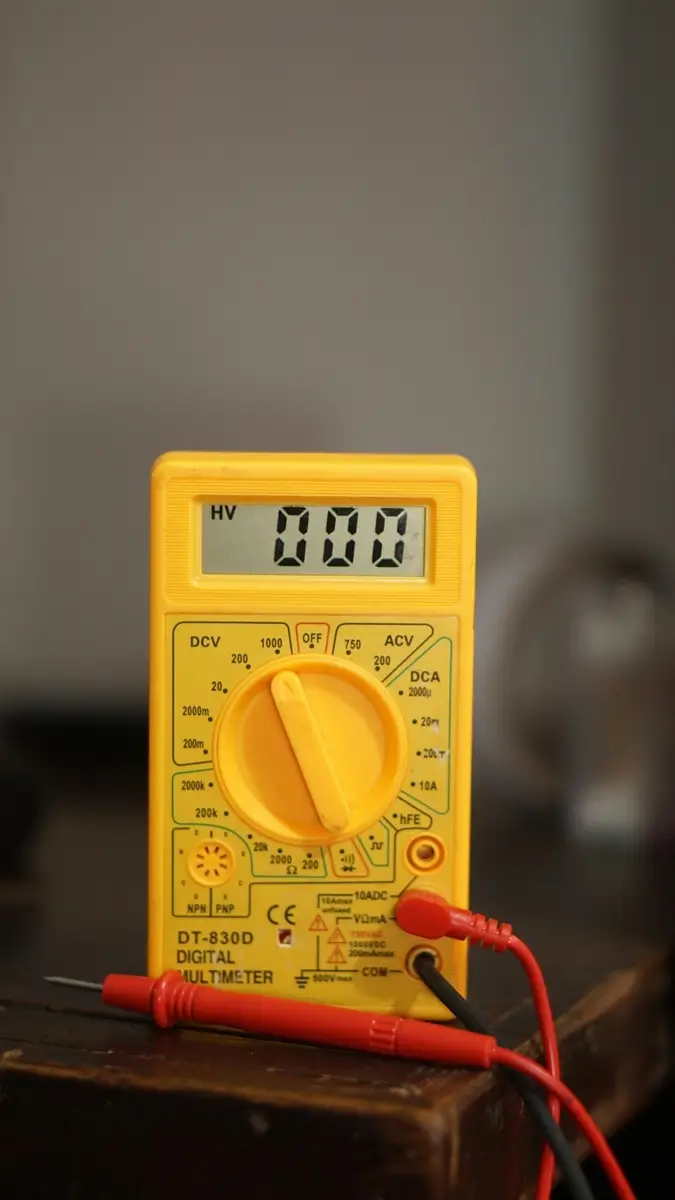
Multimeter Guide: How to Test Voltage, Current & Resistance
Introduction
A multimeter is like the Swiss Army Knife of electronics—it’s the tool that tells you what’s really going on inside your circuits. With one handy device, you can measure voltage, current, and resistance—the three essential pillars of electricity.
If you’re into electronics, DIY repairs, or simply want to check whether a battery is dead, learning to use a multimeter is one of the most useful skills you can pick up.
What is a Multimeter?
A multimeter is an electronic measuring tool that combines multiple functions in one device. The three core measurements are:
Voltage (V) → The push behind electric charges.
Current (A) → The flow of electric charges.
Resistance (Ω) → How much something resists the flow of electricity.
Many modern digital multimeters (DMMs) also measure extras like continuity, capacitance, and temperature, but for now, we’ll master the core three.
How to Test Voltage
Voltage is measured in parallel with the component or power supply you’re testing.
Steps:
Turn the dial to V (choose AC or DC depending on the source).
DC (with straight lines) = batteries, electronics.
AC (wavy line) = wall outlets.
Plug the black lead into COM.
Plug the red lead into VΩ.
Touch the black probe to the ground/negative, red probe to the positive.
Read the value on the screen.
Example: Put probes across a 1.5V AA battery → reading shows ~1.5V if good, under 1.0V if weak.
Bonus: Continuity Test (The Beep Mode)
Many digital multimeters have a “continuity” setting (symbol: sound wave/diode).
Touch probes together → meter beeps.
Use it to check if a wire, fuse, or PCB track is connected properly.
If no beep = open circuit (broken connection).
It’s incredibly useful for troubleshooting.
How to Test Resistance
Resistance is measured on a component alone, not while the circuit is powered.
Steps:
Turn dial to Ω (ohms).
Black lead in COM, red lead in VΩ.
Touch probes at both ends of the resistor/component.
Read resistance value on the display.
Example: A resistor marked 220Ω will read close to 220Ω (slight variation is normal).
Safety Tips When Using a Multimeter
Always start on the highest range to avoid overloading.
For current: never plug the probes into the A socket unless you’re actually measuring current.
Never measure Resistance on a powered circuit.
Be careful with wall outlet (AC mains) measurements—these can be dangerous for beginners.