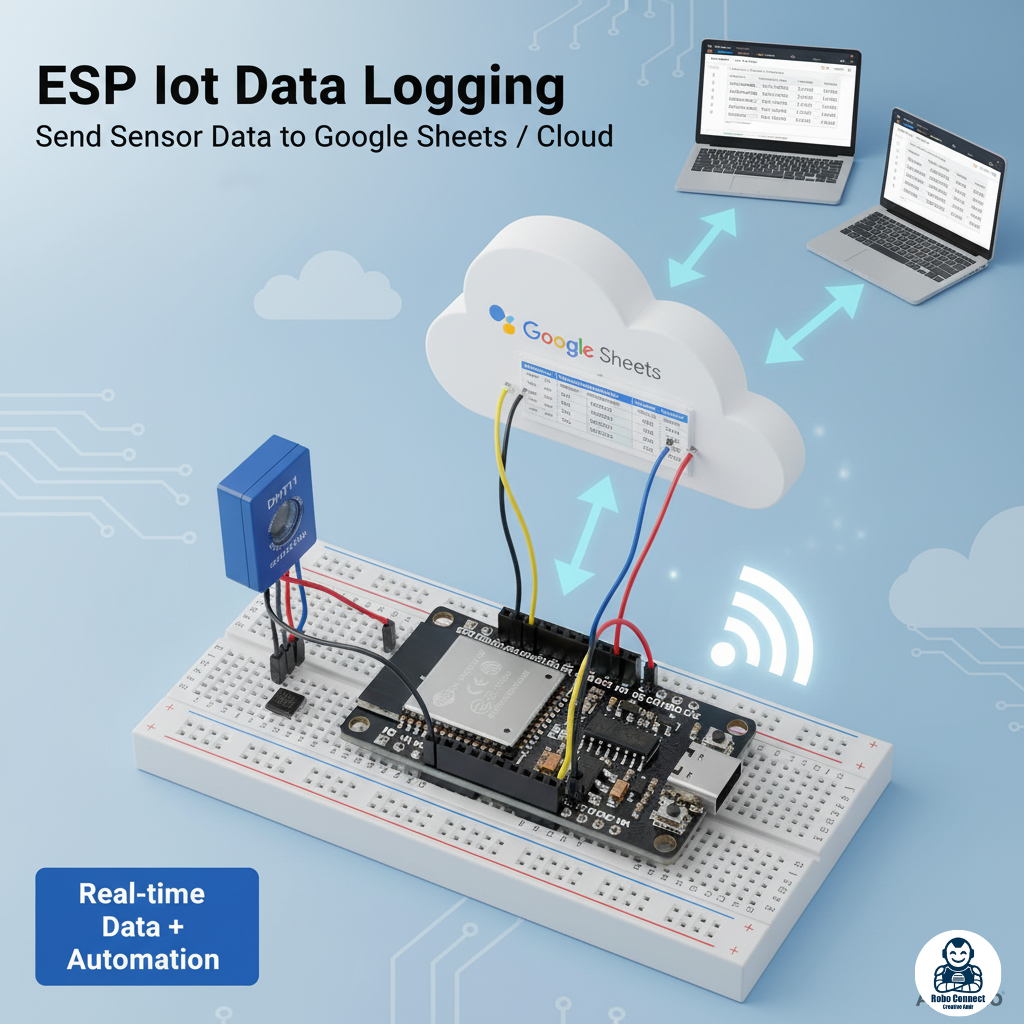
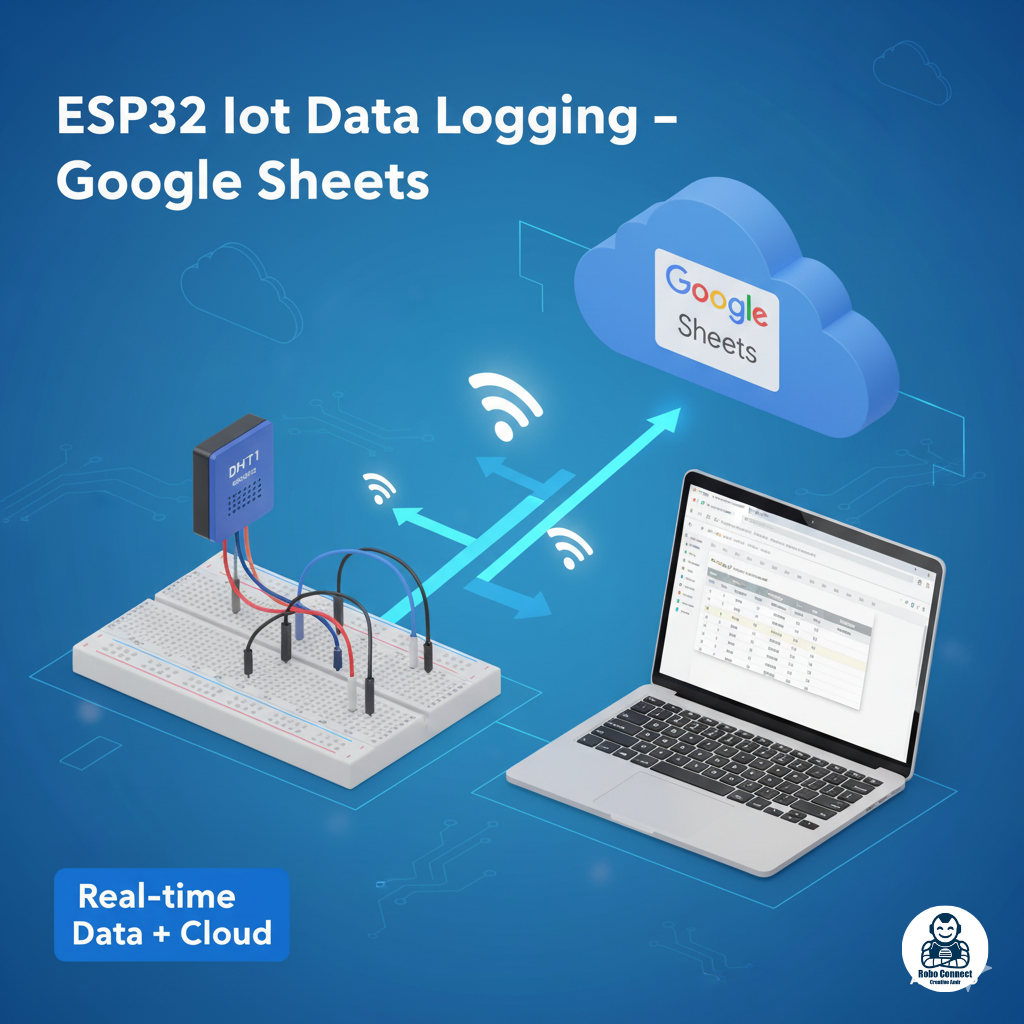
Sending Data to Google Sheets / Cloud with ESP (ESP8266 & ESP32 IoT Tutorial)
Introduction
Imagine this: your ESP32/ESP8266 reads a sensor value, and instantly logs it to a cloud spreadsheet or IoT dashboard. With this, you can:
- Track temperature & humidity in real‑time.
- Monitor soil moisture for plants.
- Log energy consumption from a sensor.
This project unlocks the true power of IoT (Internet of Things): data anywhere, anytime.
Today, I’ll show you:
- How to send data from ESP8266/ESP32 to Google Sheets.
- How to log sensor values into other Cloud platforms (Thingspeak, Arduino IoT Cloud).
What You Need
- ESP32 DevKit / ESP8266 NodeMCU
- Arduino IDE with ESP board addons
- A Wi‑Fi network
- A simple analog sensor (potentiometer, LDR, or LM35)
- Google account (for Sheets logging)
Step 3: Arduino Code for ESP32/ESP8266
C++
#include <WiFi.h> // for ESP32; use <ESP8266WiFi.h> for NodeMCU
#include <HTTPClient.h> // for ESP32; use <ESP8266HTTPClient.h> for NodeMCU
const char* ssid = “YourWiFiName”;
const char* password = “YourWiFiPassword”;
String serverName = “https://script.google.com/macros/s/YOUR_SCRIPT_ID/exec”;
int sensorPin = 34; // For ESP32 (use A0 on ESP8266)
void setup() {
Serial.begin(115200);
WiFi.begin(ssid, password);
while (WiFi.status() != WL_CONNECTED) {
delay(500); Serial.print(“.”);
}
Serial.println(“\nConnected to WiFi”);
}
void loop() {
if (WiFi.status() == WL_CONNECTED) {
int sensorValue = analogRead(sensorPin);
String url = serverName + “?value=” + String(sensorValue);
HTTPClient http;
http.begin(url.c_str());
int httpCode = http.GET();
if (httpCode > 0) {
String payload = http.getString();
Serial.println(“Server reply: ” + payload);
} else {
Serial.println(“Error sending data”);
}
http.end();
}
delay(10000); // 10s interval
}
✅ Upload, open Serial Monitor → Every 10s ESP sends sensor data → logged into Google Sheets automatically.
Why This Matters
By sending data to Google Sheets or cloud dashboards, you:
- Store data persistently (not lost when device resets).
- Visualize trends (temperature graphs, soil health).
- Access readings anywhere in the world.
This moves your projects from local experiments → real IoT systems.
Method 3: Arduino IoT Cloud
Arduino also provides Arduino IoT Cloud, which integrates nicely with ESP32/ESP8266. Steps:
- Sign up at Arduino IoT Cloud.
- Create a “Thing” and link ESP board.
- Program from Arduino Web IDE (auto‑generated code).
- View dashboard with live widgets (gauges, switches).
Great for Arduino fans who want easier setup.
FAQs
Q1: Can I send multiple values to Google Sheets?
Yes, just add &value2=… in URL and modify Apps Script.
Q2: Do I need Wi‑Fi internet?
Yes, ESP boards use Wi‑Fi to push data to the cloud.
Q3: Is Google Sheets safe for production IoT?
It’s free and simple but not scalable for thousands of devices. For serious IoT, use Thingspeak, AWS IoT, Blynk, or Arduino Cloud.