Skip to content

Top 10 Beginner Arduino Projects (LED Blink to Smart Home)

Introduction

The best way to learn Arduino is by building simple projects. Each small success (like blinking an LED) gets you ready for bigger challenges (like controlling a sensor‑based device).

Here are 10 beginner‑friendly Arduino projects you can try today—all with wiring notes and ready‑to‑copy code.

See The Video Tutorial

  1. Blink an LED (Hello World of Arduino)

Wiring: LED → Pin 13, resistor to GND.

C++

void setup() {

pinMode(13, OUTPUT);

}

void loop() {

digitalWrite(13, HIGH);

delay(1000);

digitalWrite(13, LOW);

delay(1000);

}

💡 LED blinks on and off every second.

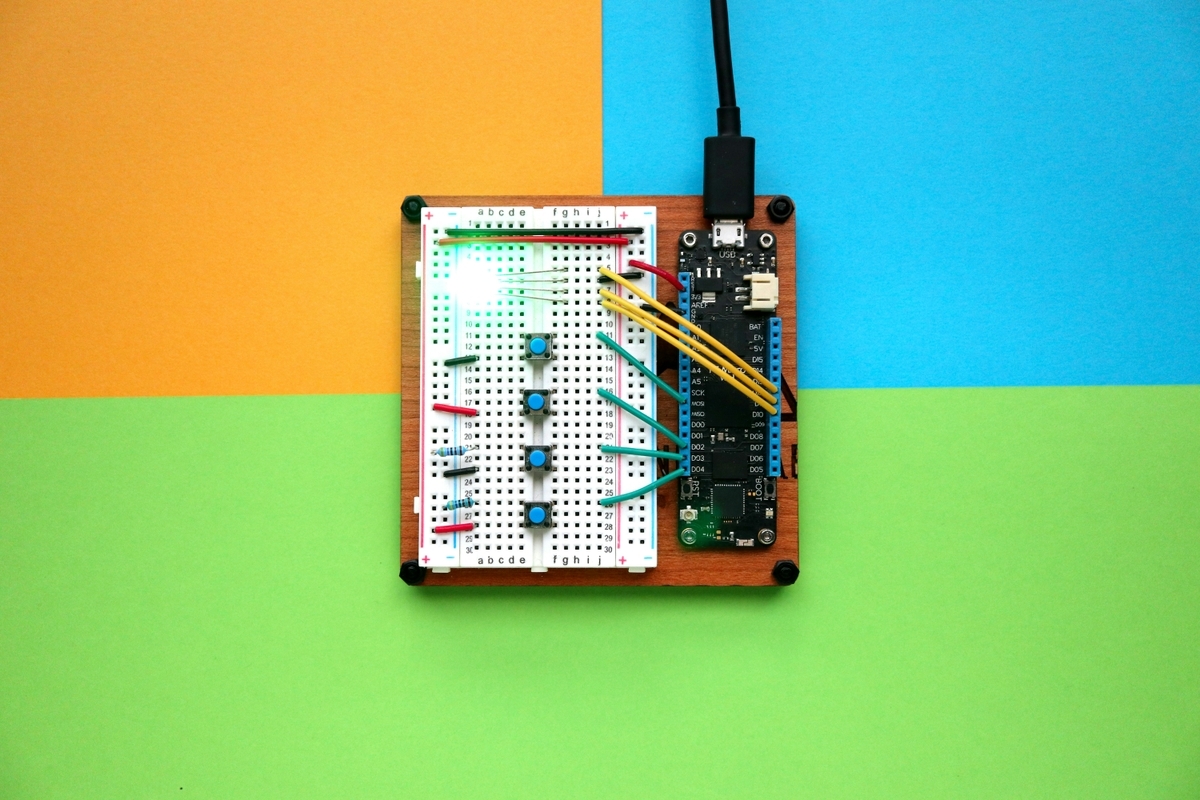
  1. LED Traffic Lights

Wiring: Red → pin 8, Yellow → pin 9, Green → pin 10 (all with resistors).

C++

int red = 8, yellow = 9, green = 10;

void setup() {

pinMode(red, OUTPUT);

pinMode(yellow, OUTPUT);

pinMode(green, OUTPUT);

}

void loop() {

digitalWrite(red, HIGH); delay(3000);

digitalWrite(red, LOW); digitalWrite(yellow, HIGH); delay(1000);

digitalWrite(yellow, LOW); digitalWrite(green, HIGH); delay(3000);

digitalWrite(green, LOW);

}

🚦 Simulates a real traffic signal.

  1. Button‑Controlled LED

Wiring: Button → pin 2, LED → pin 13.

C++

int buttonPin = 2, ledPin = 13;

void setup() {

pinMode(buttonPin, INPUT);

pinMode(ledPin, OUTPUT);

}

void loop() {

if (digitalRead(buttonPin) == HIGH) {

digitalWrite(ledPin, HIGH);

} else {

digitalWrite(ledPin, LOW);

}

}

💡 Press the button → LED turns ON.

  1. Potentiometer → Adjust LED Brightness

Wiring: Pot → A0, LED → pin 9 (PWM).

C++

int pot = A0, led = 9, val;

void setup() { pinMode(led, OUTPUT); }

void loop() {

val = analogRead(pot);            // 0–1023

val = map(val, 0, 1023, 0, 255);  // scale to 0–255

analogWrite(led, val);

}

🌀 Twist pot knob → LED brightens/dims.

  1. Ultrasonic Distance Alarm

Wiring: HC‑SR04 sensor → Trig=9, Echo=10; buzzer → pin 3.

C++

const int trig=9, echo=10, buzzer=3;

long duration; int distance;

void setup(){

pinMode(trig, OUTPUT); pinMode(echo, INPUT); pinMode(buzzer, OUTPUT);

Serial.begin(9600);

}

void loop(){

digitalWrite(trig, LOW); delayMicroseconds(2);

digitalWrite(trig, HIGH); delayMicroseconds(10);

digitalWrite(trig, LOW);

duration = pulseIn(echo, HIGH);

distance = duration * 0.034 / 2;

Serial.println(distance);

if(distance < 10) digitalWrite(buzzer,HIGH); else digitalWrite(buzzer,LOW);

delay(200);

}

📏 Beep if object <10 cm.
 

  1. Smart Plant Watering (Soil Sensor + Pump LED)

Wiring: Soil module → A0; LED (pump simulation) → pin 7.

C++

int soil=A0, pump=7, val;

void setup(){ pinMode(pump, OUTPUT); Serial.begin(9600);}

void loop(){

val=analogRead(soil);

Serial.println(val);

if(val > 700) digitalWrite(pump,HIGH);   // Dry = water!

else digitalWrite(pump,LOW);

delay(1000);

}

🌱 Soil dry → LED ON (pump activates).

  1. Servo Motor Control (Potentiometer Knob)

Wiring: Servo signal → pin 9; Pot → A0.

C++

#include <Servo.h>

Servo myservo; int pot=A0, val;

void setup(){ myservo.attach(9); }

void loop(){

val = analogRead(pot);            // 0–1023

val = map(val,0,1023,0,180);      // Map to servo angle

myservo.write(val);

delay(20);

}

⚙ Twist knob → servo sweeps accordingly.

  1. Temperature Display on Serial Monitor (LM35)

Wiring: LM35 Vout → A0.

C++

int tempPin=A0, val;

float tempC;

void setup(){ Serial.begin(9600); }

void loop(){

val=analogRead(tempPin);

tempC = (val/1023.0)*5.0*100; // Convert to °C

Serial.println(tempC);

delay(1000);

}

🌡 Reads ambient temperature (~20–35 °C indoors).

  1. PIR Motion Detector Alarm

Wiring: PIR sensor Out → pin 2; Buzzer → pin 8.

C++

int pir=2, buzzer=8;

void setup(){ pinMode(pir,INPUT); pinMode(buzzer,OUTPUT);}

void loop(){

if(digitalRead(pir)==HIGH){ digitalWrite(buzzer,HIGH);}

else { digitalWrite(buzzer,LOW);}

}

🕵️ Alarm buzzes when movement is detected.

  1. DIY Smart Light (LDR + Relay or LED)

Wiring: LDR divider → A0; LED → pin 7.

C++

int ldr=A0, lamp=7, val;

void setup(){ pinMode(lamp,OUTPUT); Serial.begin(9600);}

void loop(){

val=analogRead(ldr);

Serial.println(val);

if(val < 300) digitalWrite(lamp,HIGH); else digitalWrite(lamp,LOW);

delay(500);

}

💡 Turns on lamp/LED when it gets dark.


Conclusion

These 10 beginner Arduino projects progress from a single LED to sensor‑based smart systems.

  • Projects 1–4 → Basics (digital vs analog).
  • Projects 5–7 → Simple sensors + actuators.
  • Projects 8–10 → “Smart” behaviors (environment‑based).

With these under your belt, you’ll be confident to explore more advanced IoT, robotics, and automation.