What is NodeMCU (ESP8266)?
Complete Beginner’s Guide to IoT Projects

What is NodeMCU?
NodeMCU is an open-source development board built around the ESP8266 Wi-Fi SoC (System on Chip). It provides an easy-to-use hardware and software platform for developing Internet of Things (IoT) applications.
The name “NodeMCU” comes from the “Node” for networking and “MCU” for Microcontroller Unit.
It combines:
-
ESP8266 microcontroller
-
On-board USB-to-Serial converter
-
Built-in Wi-Fi
-
Breadboard-friendly design
-
Firmware that can be programmed using Lua script, Arduino IDE, or MicroPython

See The Video Tutorial
NodeMCU (ESP8266) Technical Specifications
Feature | Details |
---|---|
Microcontroller | ESP8266 (Tensilica L106) |
Clock Speed | 80 MHz (can be overclocked to 160 MHz) |
Flash Memory | 4MB (varies by board version) |
RAM | ~160 KB available to user |
Wi-Fi | 802.11 b/g/n (2.4GHz) |
GPIO Pins | 11 usable GPIOs |
ADC (Analog to Digital) | 1 channel, 10-bit |
Communication Interfaces | UART, SPI, I2C, PWM |
Programming Language | Arduino C++, Lua, MicroPython |
USB Interface | Micro USB |
Operating Voltage | 3.3V logic (5V input via USB) |
Power Consumption | Low (deep sleep supported) |
Pinout Diagram
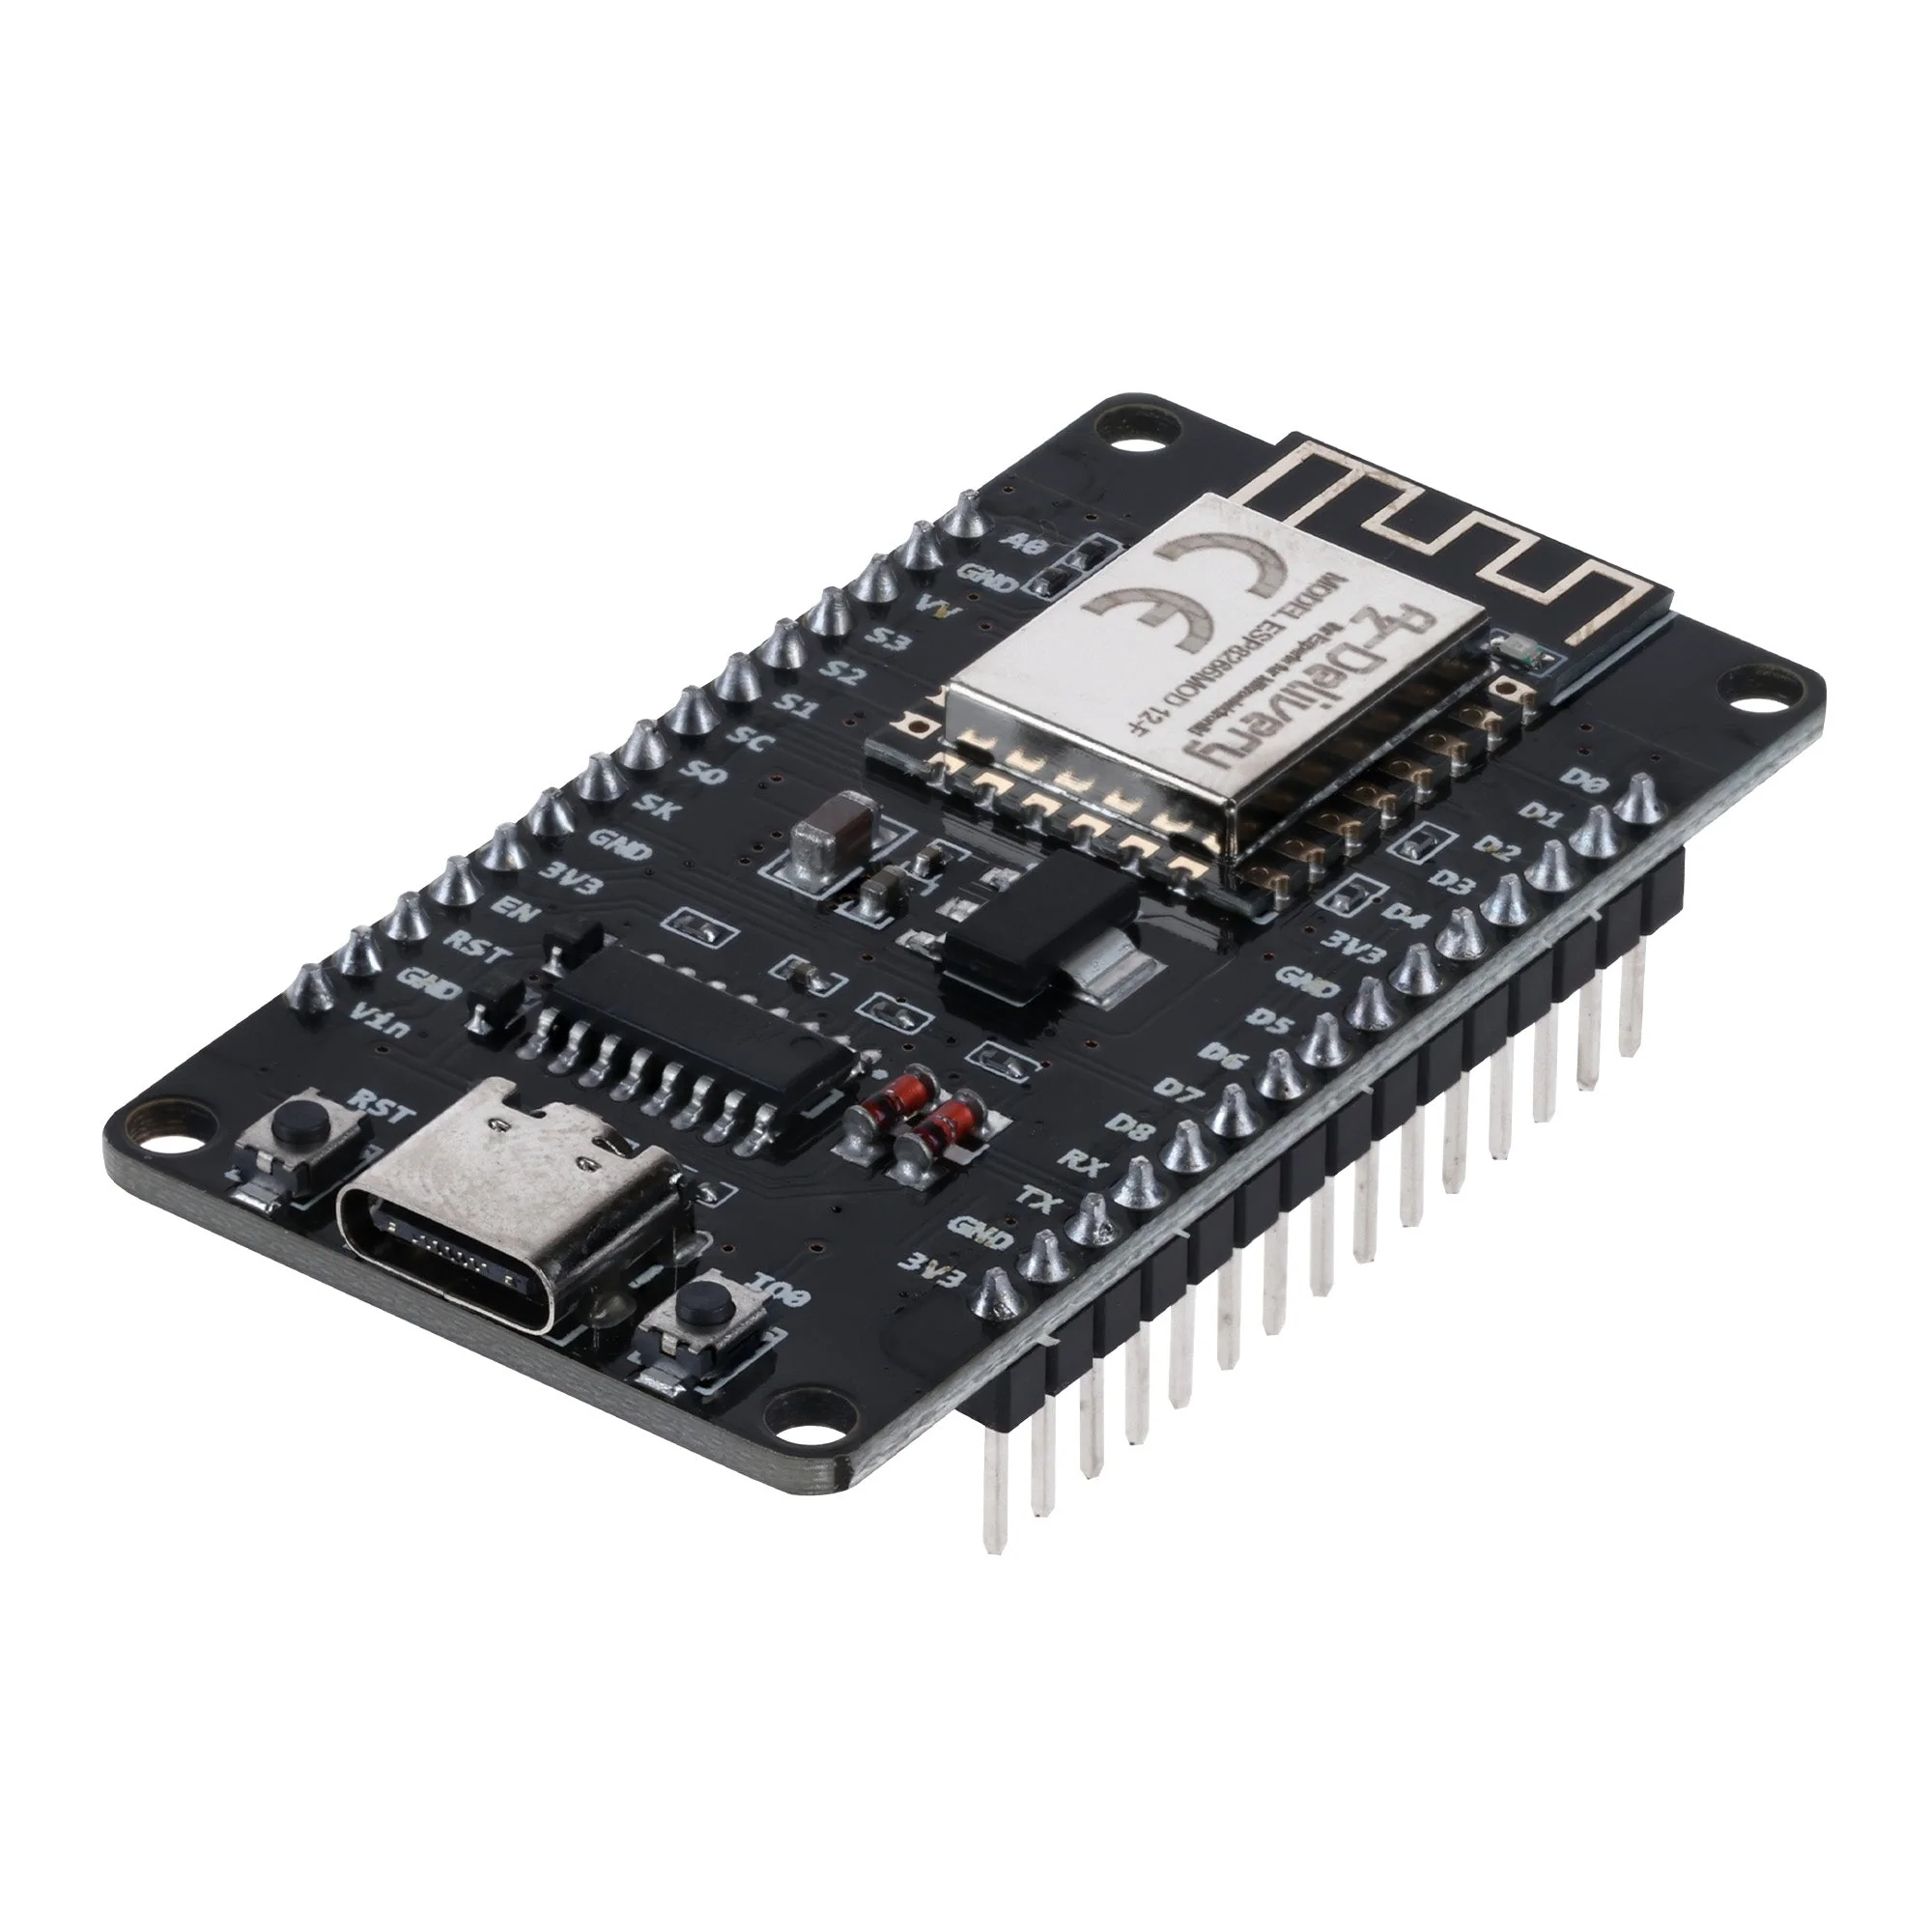
Here is a simplified pin layout of the NodeMCU V3 (ESP8266):

⚠️ Note: Some pins have special purposes during boot; avoid using GPIO0, GPIO2, and GPIO15 for outputs during startup.
official ESP8266 documentation
How to Program NodeMCU
Option 1: Using Arduino IDE
-
Install Arduino IDE
-
Go to:
File > Preferences
-
Add this URL in Additional Boards Manager URLs:
http://arduino.esp8266.com/stable/package_esp8266com_index.json
-
Go to
Tools > Board > Boards Manager
, search ESP8266, and install. -
Select board:
NodeMCU 1.0 (ESP-12E Module)
-
Connect via USB and start coding!
Wi-Fi Example: Connect to Internet
#include <ESP8266WiFi.h>
const char* ssid = “YourWiFiSSID”;
const char* password = “YourWiFiPassword”;
void setup() {
Serial.begin(115200);
WiFi.begin(ssid, password);
while (WiFi.status() != WL_CONNECTED) {
delay(500);
Serial.print(“.”);
}
Serial.println(“”);
Serial.println(“WiFi connected”);
Serial.println(WiFi.localIP());
}
void loop() {
}
Popular Applications of NodeMCU (ESP8266)
-
Home Automation
-
Smart Agriculture
-
Remote Weather Stations
-
IoT Door Locks
-
Wi-Fi Controlled Relays
-
Sensor Data Logging to Cloud
Powering NodeMCU
-
Can be powered via micro USB (5V)
-
Alternatively, you can power using a regulated 3.3V source directly to the
3V3
pin
⚠️ Do not apply 5V to the 3.3V pin – it can damage the chip.
Popular Applications of NodeMCU (ESP8266)
-
Home Automation
-
Smart Agriculture
-
Remote Weather Stations
-
IoT Door Locks
-
Wi-Fi Controlled Relays
-
Sensor Data Logging to Cloud
IoT Cloud Integration
You can easily connect NodeMCU to:
-
ThingSpeak
-
Blynk
-
Firebase
-
IFTTT
-
MQTT Brokers (like Mosquitto)
Advantages of NodeMCU
✅ Built-in Wi-Fi
✅ Low Cost
✅ Beginner Friendly
✅ Compact and breadboard compatible
✅ Supported by large communities
✅ Easily programmable via Arduino IDE
Limitations
⚠️ Only one analog input (ADC)
⚠️ Less GPIO than ESP32
⚠️ Not suitable for Bluetooth projects
⚠️ Lower processing power than ESP32
Conclusion
NodeMCU (ESP8266) is a powerful, cost-effective, and beginner-friendly development board ideal for IoT and embedded projects. Whether you’re building a Wi-Fi-controlled light, weather station, or automation system, NodeMCU provides everything you need to start your journey into the world of smart devices.